Custom Sneeze Guards and Barriers
Considering a custom barrier to protect your customers and employees? Here is information to help you decide what you want:
- Do you want a free-standing barrier? Or will it be attached to a counter or wall? Or perhaps hung from the ceiling?
- What dimensions do you need? Do you need a custom shape or will a rectangle do the job?
- Do you need a cut out? If so, what are you passing through - money, paperwork, food items?
- What Material and thickness do you need?
- How will it be put together? (See examples click here)
Dimensions & Cut Outs:
We have found that for most uses, a max height of 32” is sufficient. We can do widths of up to 10 feet. We can help you figure out the size of side supports or bases depending on the size of the barrier and the thickness of the material. As a general rule, side supports should be at least 75% as high as the barrier and a minimum of 7” wide. Taller barriers will need wider side supports.
If you need a cut out, what size does that need to be? We have found, for most uses 3”x12” is sufficient. Measure your biggest item to make sure it will fit.
Please make a drawing of your barrier with the dimensions of each side and cut out labeled. Cut outs can be in the middle, or offset to one side. Do you need holes drilled? If so, please include location and diameter of the hole. Or use one of these templates to write your dimensions on:
What material do you need?
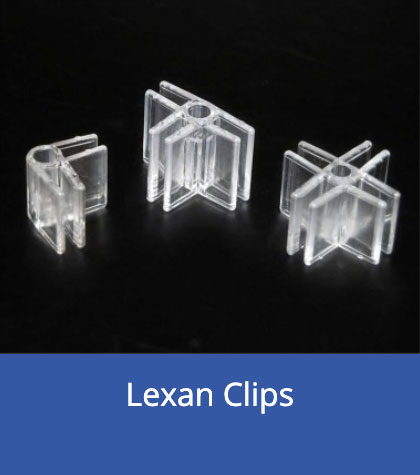
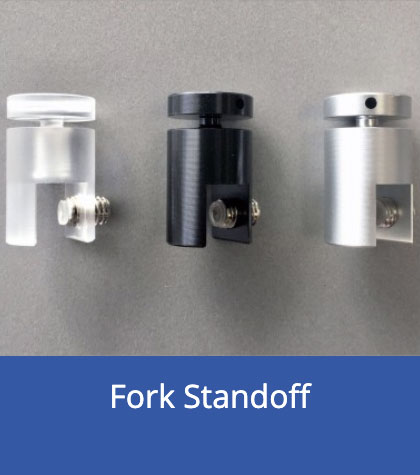
That will partly depend on how you want to put your barrier together and how big of a barrier you need. The bigger the barrier, the thicker the material needs to be. For glued barriers, you will need to use a minimum of 3/16”. Lexan Clips are designed for use with 3/16” only. Fork Standoffs can be used with material up to 3/8”. Mounts use up to 1/4” material.
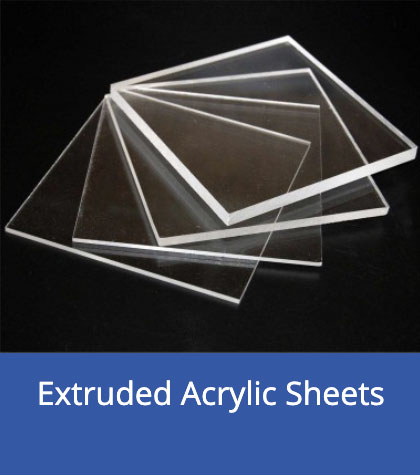
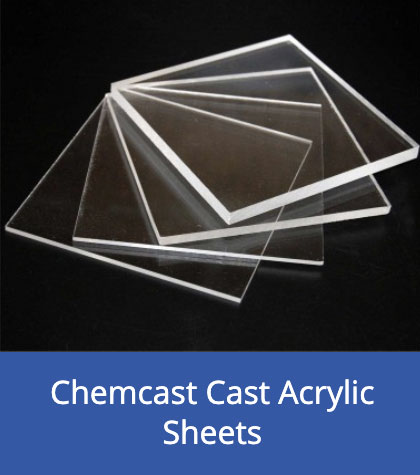
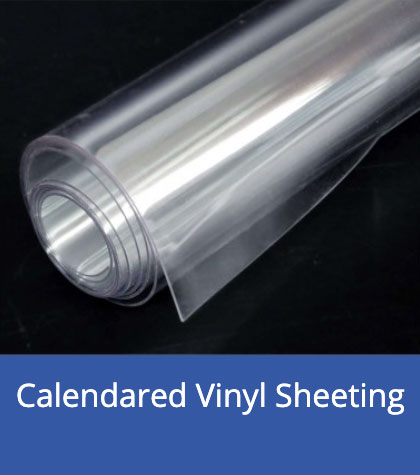
Cast vs Extruded: Extruded is less expensive, however Cast comes in larger sizes so can be used for bigger barriers. Because Extruded is cheaper, our inventory of extruded is limited in popular sizes. You may need to consider other thickness or using Cast if your order is time sensitive. You may also want to consider using 20mil vinyl to create curtains for protection instead of acrylic.
How will it be put together?
Using glued bottom: This creates a T-shaped barrier which is more labor intensive than using hardware so will take longer to process your order. The pros to a T-shaped barrier are that they are rigid and can easily be clamped or taped in place.
Using Lexan Clips: This method is fast and Lexan clips are relatively cheap. They are easy to ship, easy to put together and easy to disassemble for later storage.
Using Fork Standoffs: This is a more elegant looking solution than Lexan clips.They are a bit more expensive, but have the same benefits as Lexan clips.
Using mounts: Mounts do not require any side pieces. They can be made out of one piece of plastic; however, the mount will have to be screwed down to something.
Other things to think about:
We recommend that you have the top corners rounded and the edges scraped or sanded. We do not recommend flame polishing the edges because it compromises the ability to clean the plastic. It can lead to cracking. And it is more costly and will add more time for us to process your order.

