Cast Objects in Clear Resin
How to Cast Embedments in Clear Polyester Resin
Casting objects in clear polyester resin allows you to create stunning decorative and functional pieces. This guide will walk you through the essential steps, tips, and precautions for successful resin casting.
Materials and Safety Precautions
Materials Needed:
-
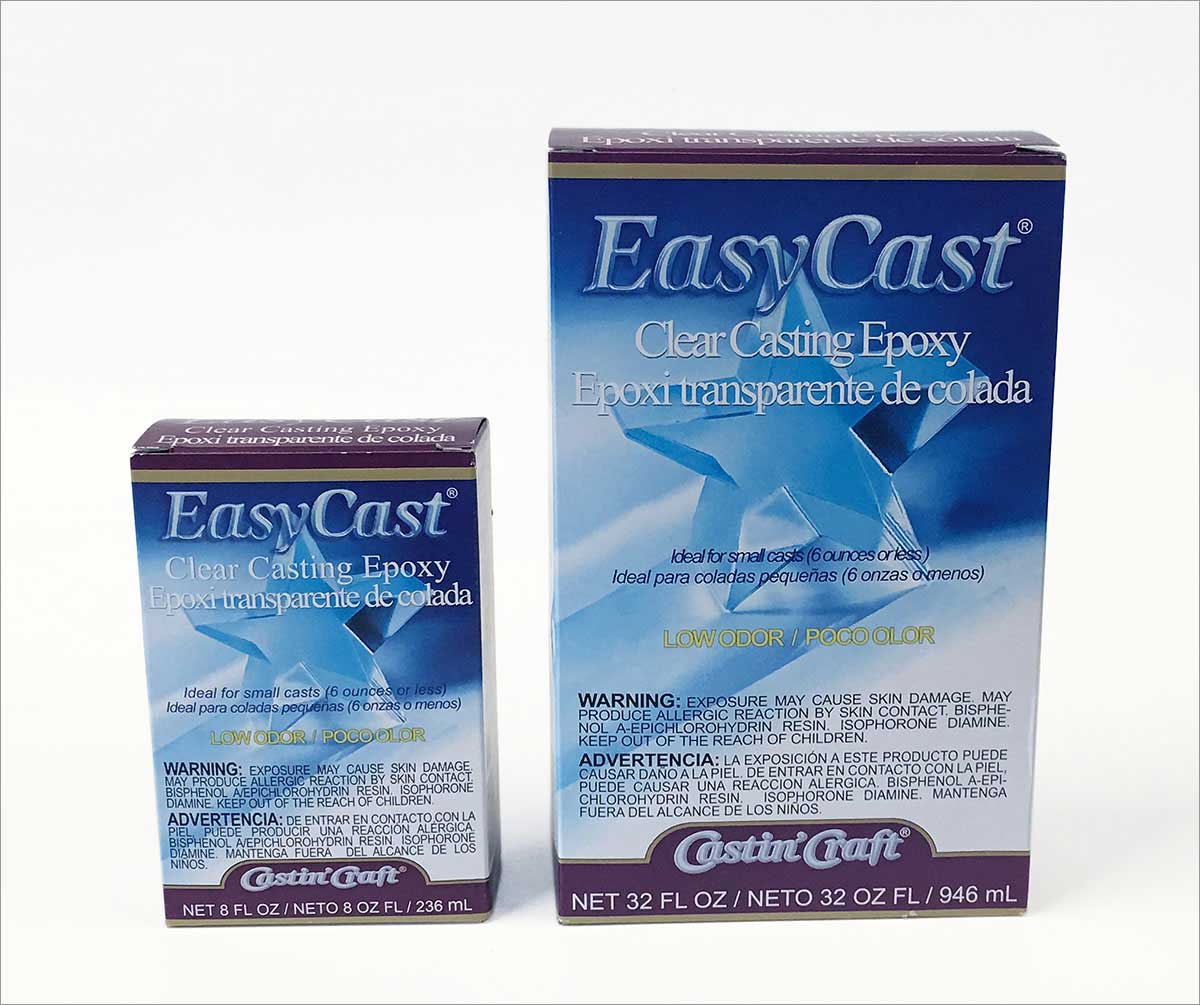
Clear light casting resin (polyester or epoxy)
-
MEKP catalyst (for polyester resin)
-
Measuring cups (graduated, reusable; avoid wax cups)
-
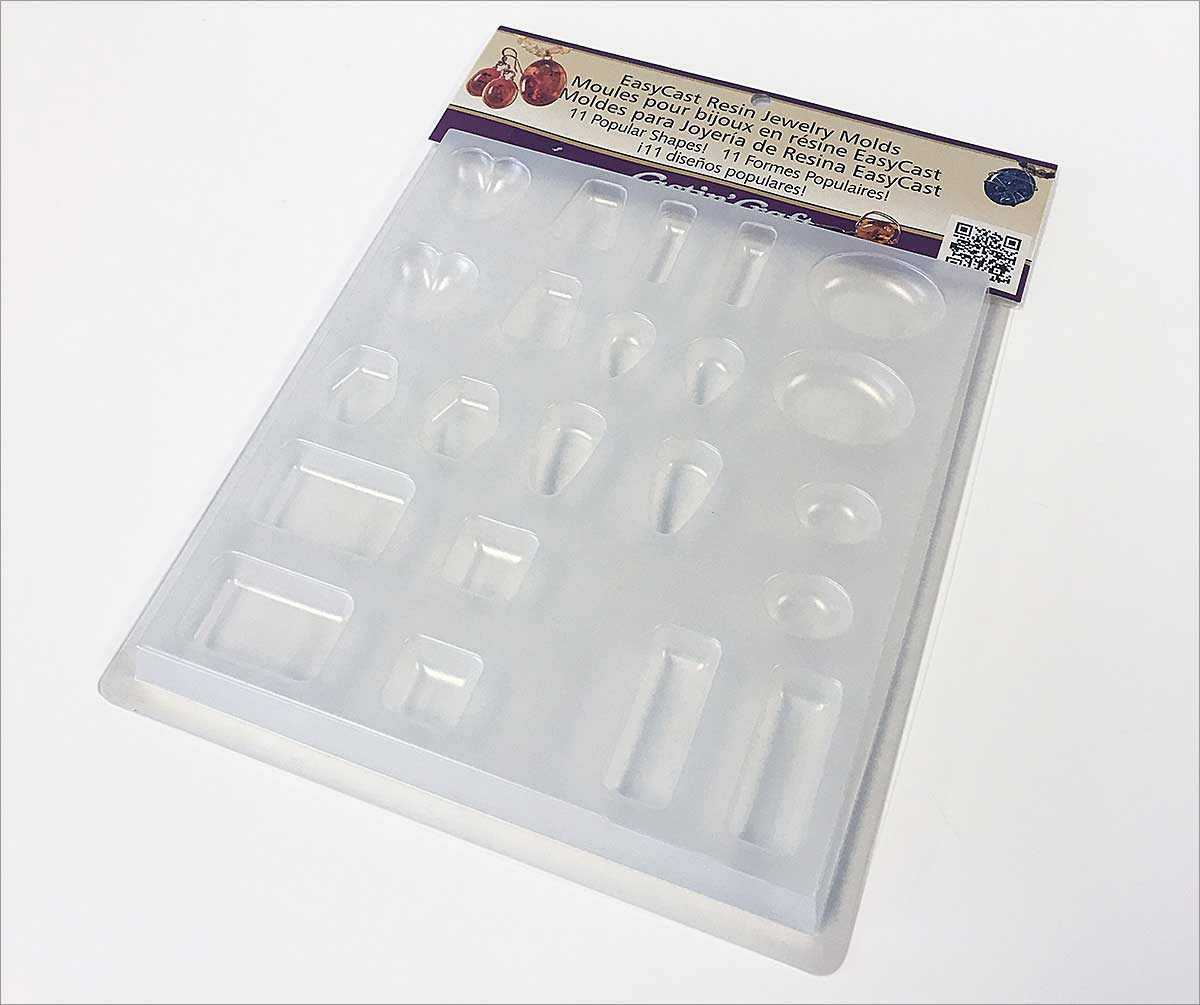
Mold (rigid or flexible, preferably polypropylene)
-
Embedments (e.g., coins, photos, flowers, small objects)
-
Pigments (optional for colored backgrounds)
-
Plastic trash bag or plastic film to protect work surface
-
Resin spray or surface curing agent (for final curing)
Safety Precautions:
-
Always work in a well-ventilated area or outdoors, as resin has a strong odor.
-
Avoid working near open flames, as resin is flammable.
-
Wear protective gloves to prevent skin contact.
-
Protect your work surface with plastic to avoid damage.
Step-by-Step Resin Casting Process
1. Prepare Your Mold and Materials
-
Choose a mold with a volume label for accurate mixing.
-
If embedding objects, plan your layers carefully, keeping in mind that the bottom of the mold will be the top of the final piece.
-
Ensure your embedments are dry and free of dust or oils.
2. Mixing the First Layer
-
Measure the resin based on your mold size (e.g., 3 oz for a 9 oz mold).
-
Add the catalyst according to temperature and resin volume (e.g., 10 drops per ounce of resin).
-
Mix thoroughly with a flat-sided stir stick. Bubbles introduced during mixing will release later.
-
Pour the first layer into the mold and let it begin to gel. This takes 15 minutes to an hour, depending on conditions.
3. Embedding Objects Without Bubbles
-
Wait for the first layer to reach the gel stage (similar to Jello consistency) before adding embedments.
-
Mix another small batch of resin (e.g., 3 oz) and pour half into the mold.
-
Coat each embedment with the remaining resin before placing it in the mold. This removes trapped air and prevents bubbles.
-
Carefully position the embedment to push air out as you lower it.
4. Adding a Colored Background (Optional)
-
Once the second layer has gelled, mix resin for the background layer (e.g., 2 oz with 4 drops of catalyst per ounce).
-
Add pigment sparingly to avoid inhibiting the curing process.
-
Pour the final layer gently to complete the casting.
Curing and Finishing
1. Ensuring a Complete Cure
-
Polyester resin remains tacky in air for extended periods. To speed curing:
-
Use a resin spray to seal the surface.
-
Place the piece in a warm, sunny area for several days.
-
Use a surface curing agent in the final layer if it's pigmented.
-
2. Removing the Piece from the Mold
-
The resin has fully cured when it pulls away from the mold, showing a lighter color.
-
Premature removal may damage the finish, so ensure complete curing before demolding.
Tips for Large Castings
-
If casting over ½ inch thick, experiment first to avoid excessive heat buildup.
-
Large castings can overheat, causing cracking, warping, or even melting the mold.
-
Work in layers to control temperature and prevent defects.
Conclusion
With these steps, you can create beautiful resin embedments with confidence. Experiment with different objects and colors to develop your own casting techniques. Happy crafting!