How To Make Fiberglass Part - Part 1
How to Make a Fiberglass Mold: Step-by-Step Guide (Part 1)
Fiberglass molding is a great technique for duplicating parts, such as a boat hull. This guide walks you through the essential steps to create a fiberglass mold. In part two of this series, we will cover fiberglass layup to create your duplicate part.
Step 1: Mounting the Original Part (Plug)
-
Choose a Base – Use a solid, non-porous surface like coated hardboard.
-
Attach the Plug – Secure the original part (plug) to the base using a glue gun for easy removal later.
-
Check for Gaps – Ensure there are no gaps between the plug and base, as gel coat cannot bridge gaps.
-
Fill Gaps – Use modeling clay to seal any gaps, then trim with a knife for clean edges.
-
Inspect for Imperfections – Any flaws in the plug will be duplicated in the mold and final product.
Step 2: Applying Mold Release
Mold release is essential for removing the cured mold from the plug.
-
Apply Mold Release Wax – Use Partall Paste #2. If the plug is porous, seal it first.
-
Buff the Wax – Polish it to a shine.
-
Apply PVA Mold Release – Use a Pre-Val sprayer for small projects.
-
Layering the PVA – Start with a light mist coat, let it dry, then apply two heavier coats, ensuring each layer dries before applying the next.
Step 3: Applying Gel Coat
Gel coat forms the outer layer of the mold.
-
Choose the Right Gel Coat – Tooling gel coat is best for high-volume molds, but for limited-use molds, standard gel coat with black pigment works well.
-
Mix the Catalyst – Follow the manufacturer’s instructions.
-
Use a Resin Spray Cup Gun – Do not use a paint sprayer.
-
Spray the Gel Coat – Apply in long strokes in two directions for even coverage.
-
Check Thickness – Use a mil gauge to ensure a thickness of 15-20 mils.
-
Let It Cure – Curing time varies from 30 minutes to a few hours, depending on temperature and catalyst ratio.
Step 4: Creating Smooth Corners
Fiberglass does not adhere well to sharp angles, leading to air pockets and cracking.
-
Prepare a Putty Mixture – Combine Cab-O-Sil and TAP Bond Coat Resin to create a peanut butter-like consistency.
-
Apply the Mixture – Spread onto 90-degree angles and shape into a smooth cove using a stir stick or your finger.
Step 5: Applying Fiberglass Layers
-
Mix Resin and Catalyst – Prepare only what you can use within 20 minutes.
-
Create a Border – Use fiberglass selvage tape to reinforce the edges.
-
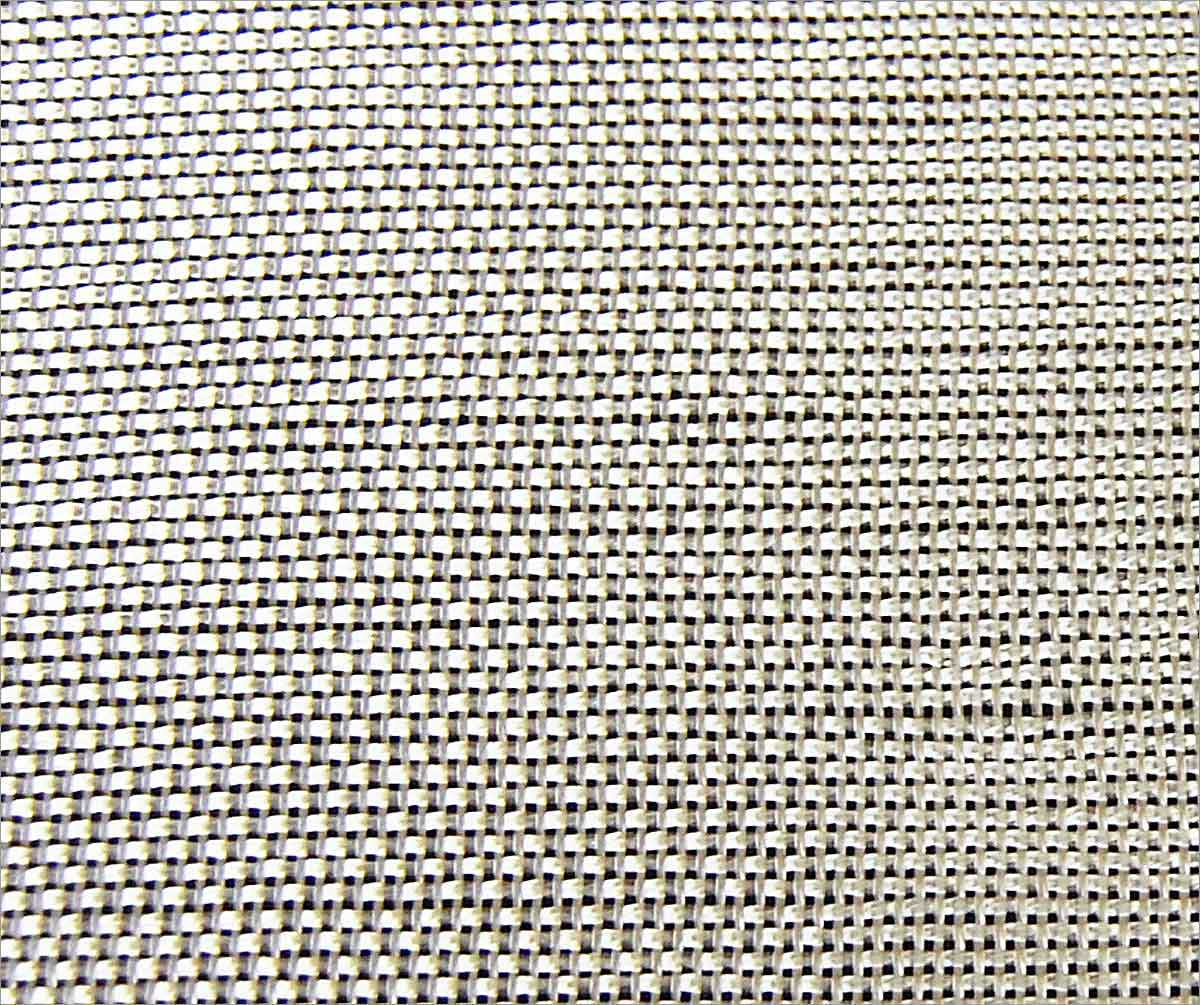
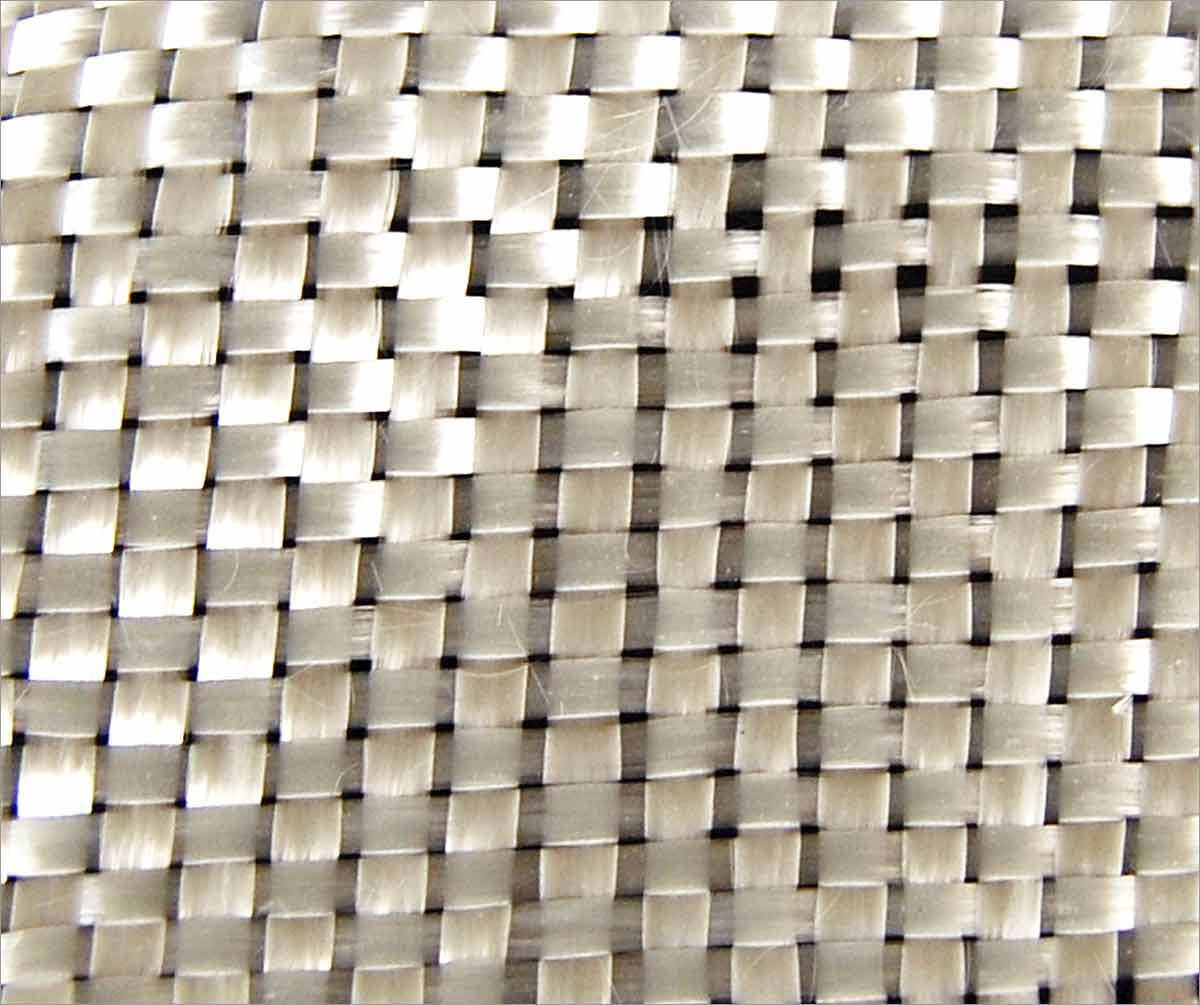
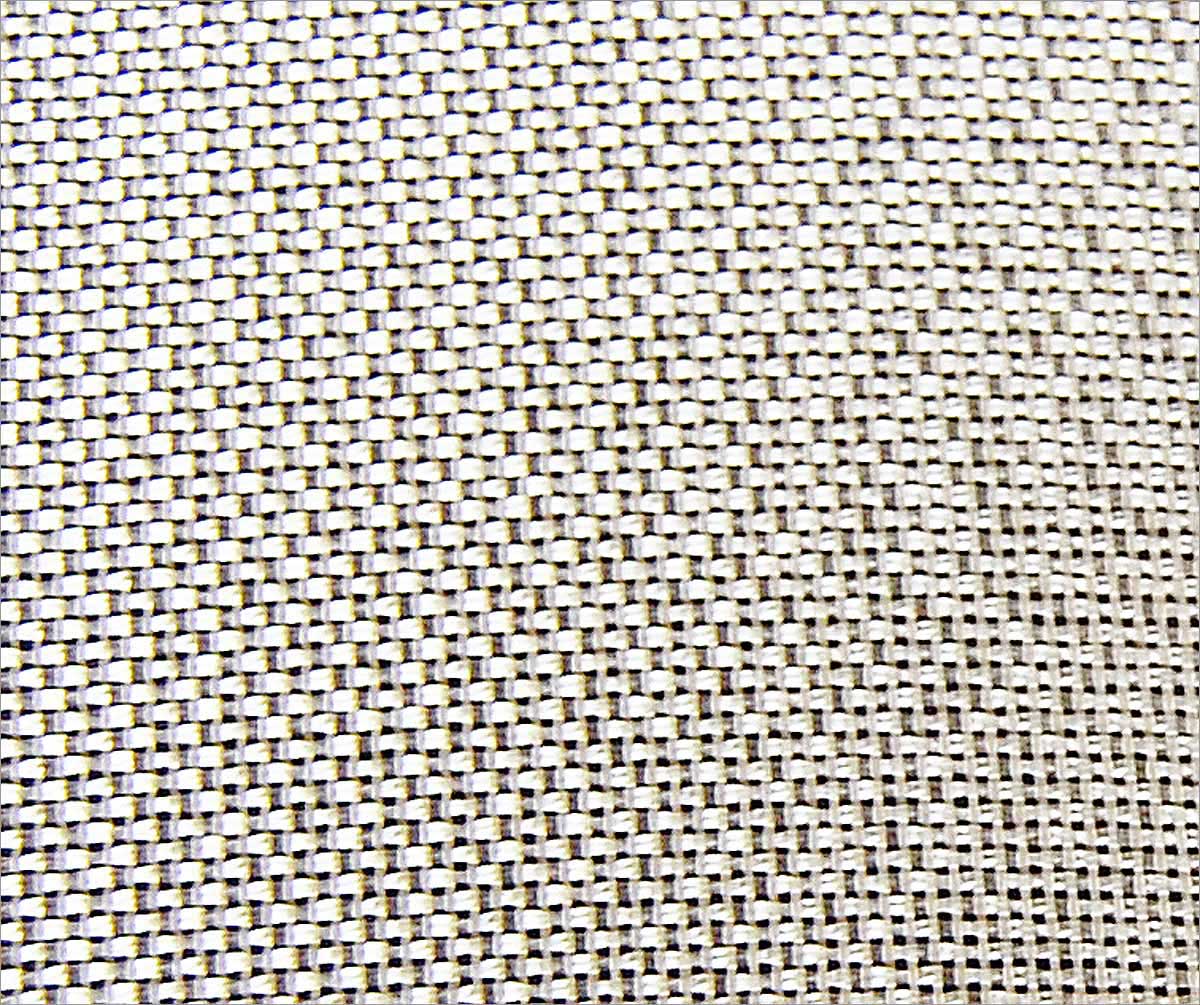
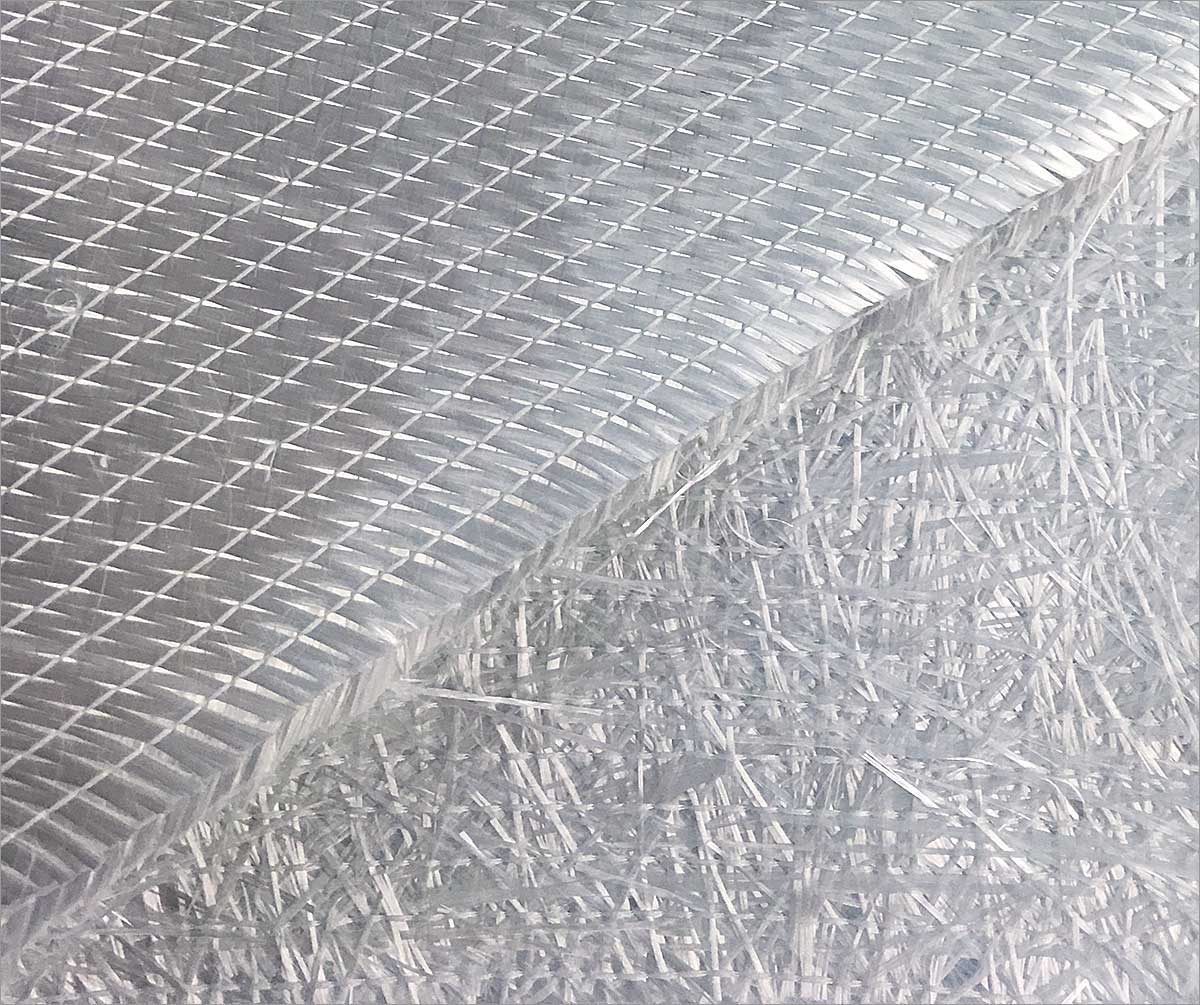
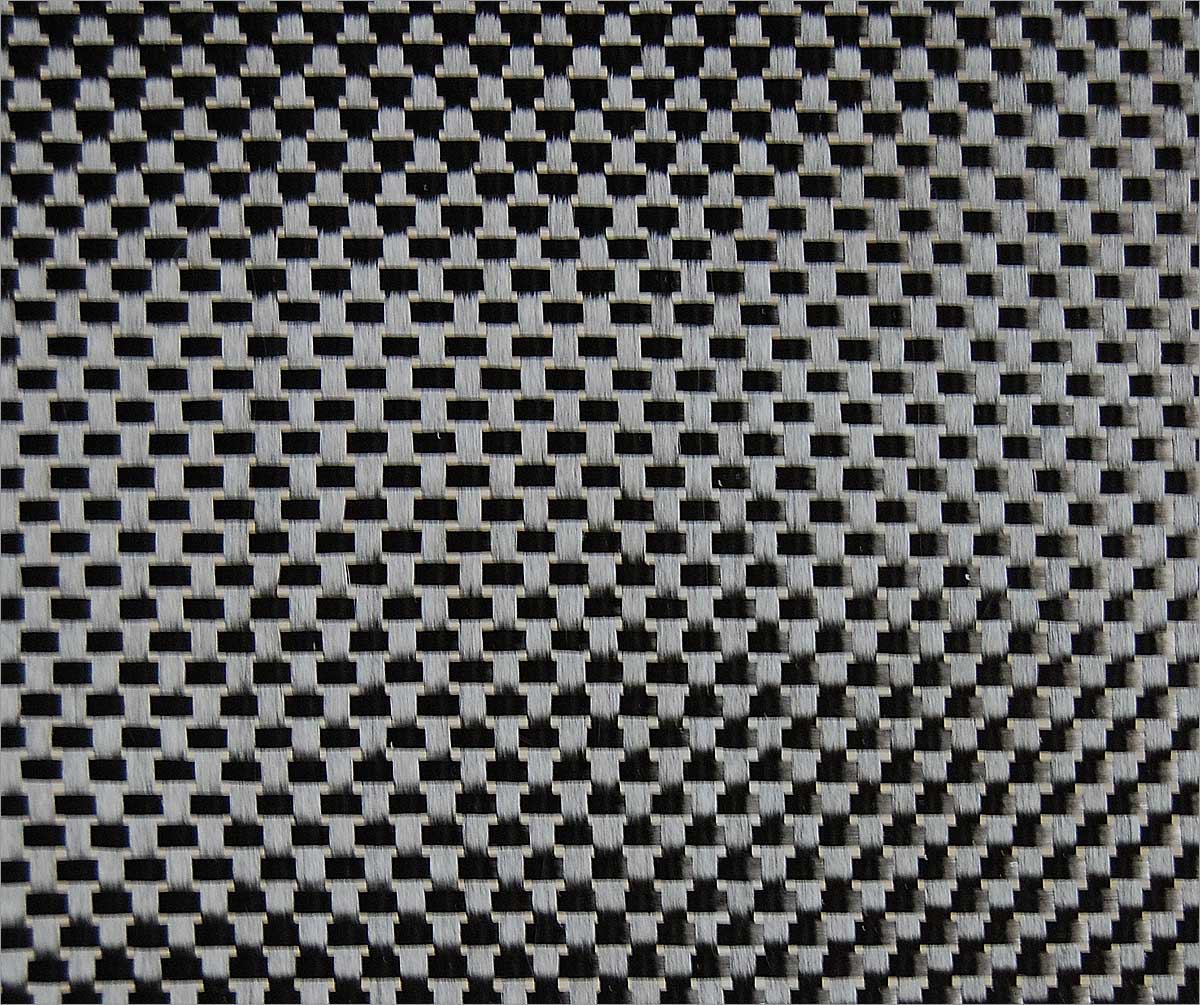
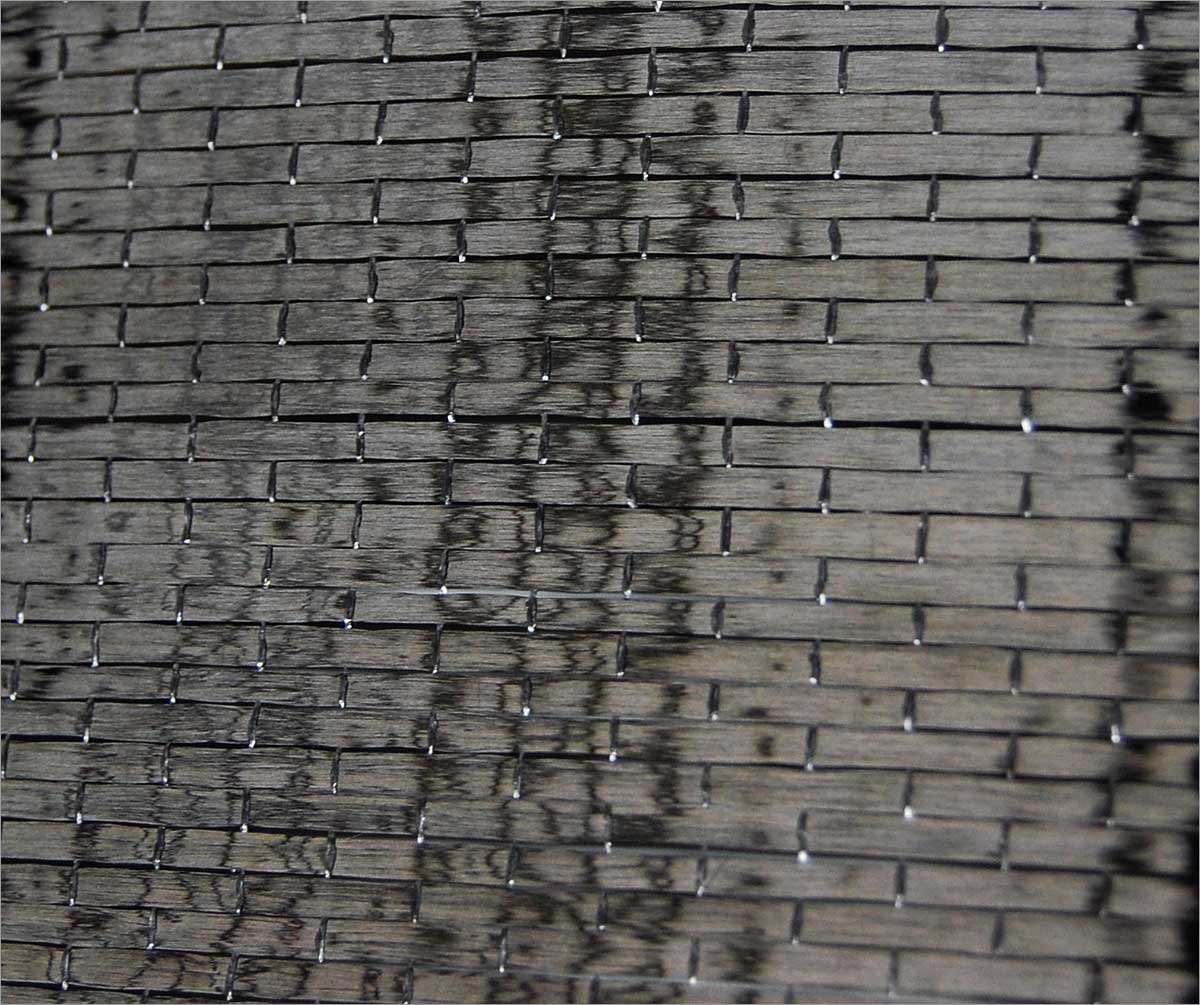
Apply the First Layer – Wet the surface with resin and lay fiberglass mat (3/4 oz or heavier).
-
Saturate the Mat – Use a dabbing motion with a brush for thorough wetting.
-
Use Small Pieces – Cut the mat into smaller sections for easier application, ensuring overlap with no gaps.
-
Use a Roller – An economy roller helps press the mat down and remove air bubbles.
-
Build Layers – Apply 3-6 layers for small molds; larger molds may require 6-10 layers or more.
Step 6: Finalizing the Mold
-
Apply a Surface Curing Agent – Ensures a tack-free surface for the mold.
-
Let It Cure – Allow full curing before attempting to remove the mold.
Conclusion
Creating a fiberglass mold requires careful preparation, mold release application, gel coating, and layering fiberglass properly. Following these steps ensures a high-quality mold that can be used for multiple reproductions. Stay tuned for part two, where we’ll cover the fiberglass layup process!