Three Dimensional Signage with the Quick Snap System
How to Create Professional 3D Signs with the Quick Snap Letter System
Three-dimensional signs add depth and visual impact, making them stand out far more than traditional flat signage. With the easy-to-install Quick Snap Letter System, you can achieve a professional look without needing expert installation. Follow these steps to create your own eye-catching 3D sign.
Step 1: Plan Your Sign
Before you begin, determine what you want your sign to say and measure the space where it will be installed. Taking a picture of the area can help you visualize the final result.
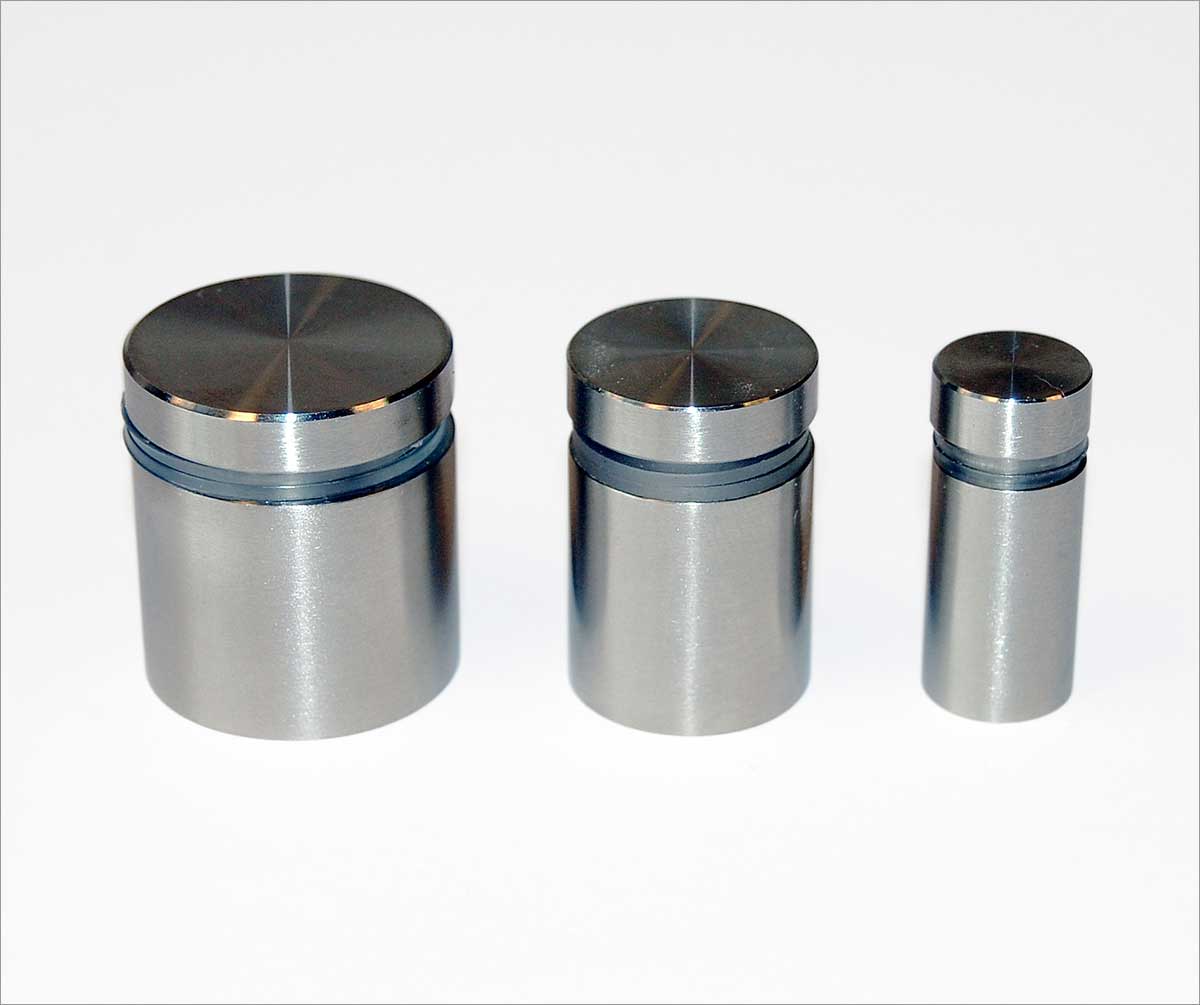
Step 2: Select Your Letters
Visit a TAP Plastics store or browse TAPPlastics.com to choose your preferred letter style, size, and color. Our sales team can assist in matching the right size to your available space. Once you've made your selection, we will laser-cut the letters for you.
Step 3: Prepare for Installation
There are two methods for positioning the letters correctly:
-
DIY Method: Lay the letters out on a long sheet of paper in your desired arrangement. Trace around each letter to create a positioning guide.
-
Computer-Generated Pen Pattern: For a small fee, TAP Plastics can provide a precise template that ensures accurate placement.
Whichever method you choose, arrange the letters on the pattern and carefully remove the protective masking from the back of each letter.
Step 4: Attach Quick Snap Pads
Each letter will need three or four Quick Snap pads, depending on its size and shape. Use acrylic cement, available at TAP Plastics, to glue the pads onto the back of each letter. Allow a few minutes for the glue to set.
Step 5: Create a Drilling Pattern
Place your paper pattern on a piece of cardboard or another compressible surface. Position each acrylic letter in its exact location and press firmly to pierce the paper, marking the spots for drilling. If your sign includes duplicate letters, label them accordingly to avoid confusion. Also, mark orientation indicators on letters like “I” and “O” to prevent incorrect placement.
Step 6: Mount the Pattern and Drill Holes
Use painter’s tape to secure the pattern onto the wall, making sure it is level and centered. Your mounting method will depend on the wall surface:
-
For sheetrock, use #6 screws with wall anchors (available at hardware stores).
-
Drill holes at all marked locations. If you miss one, realigning the pattern later can be difficult.
Step 7: Install the Letters
-
Remove the pattern and insert anchors into the drilled holes.
-
Insert screws through the plastic receptor sleeves of the Quick Snap system and secure them into the anchors.
-
Carefully position each letter over its respective receptors and gently snap it into place. You will hear a clicking sound when they connect properly.
Step 8: Final Touches
Peel off any remaining protective masking from the letters and admire your professionally installed 3D sign!
For high-quality laser-cut letters and sign-making supplies, visit your local TAP Plastics store or shop online at TAPPlastics.com.