How To Make Fiberglass Part - Part 2
How to Make a Fiberglass Part from a Mold
Creating a fiberglass part from a mold requires careful preparation, application of materials, and attention to detail. This guide outlines the steps needed to ensure a successful fiberglass casting, from mold preparation to final part removal.
Safety Precautions
Before beginning, always follow these safety guidelines:
-
Wear skin and eye protection when working with resins.
-
Work in a well-ventilated area away from open flames.
-
Use breathing protection if required.
Step 1: Inspect and Prepare the Mold
-
Check for Defects: Inspect the mold for air pockets or bubbles that could affect the final part. If making multiple parts, repair these imperfections with gel coat, sand, and buff them.
-
Apply Mold Release:
-
Use Part-All paste wax to wax the mold as you would a car.
-
Allow the wax to dry for 1–2 minutes before removing it with a soft cloth.
-
Repeat this process at least three times, waiting 1–2 hours between coats.
-
Step 2: Prepare the Fabric
-
Pre-Cut Fabric:
-
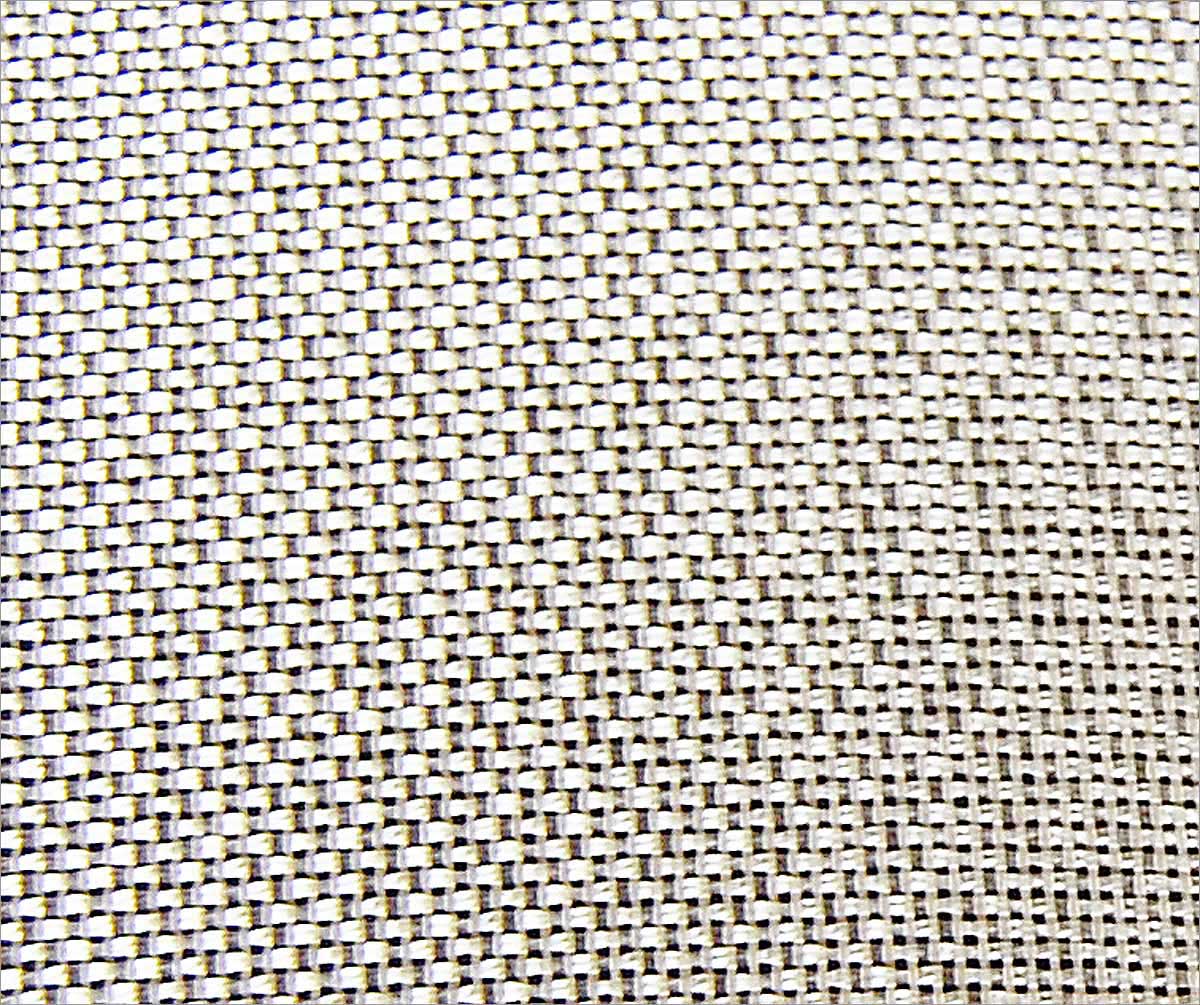
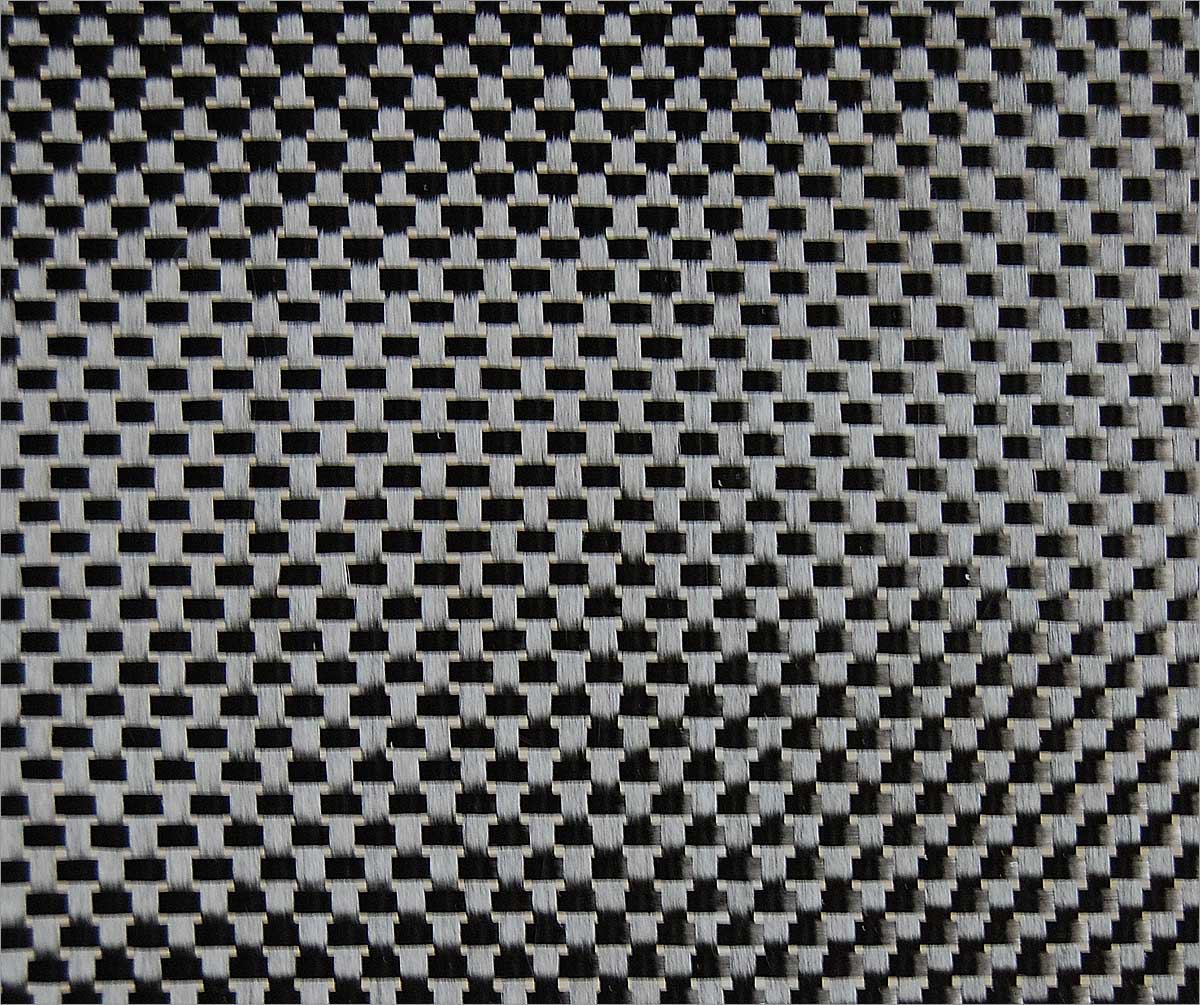
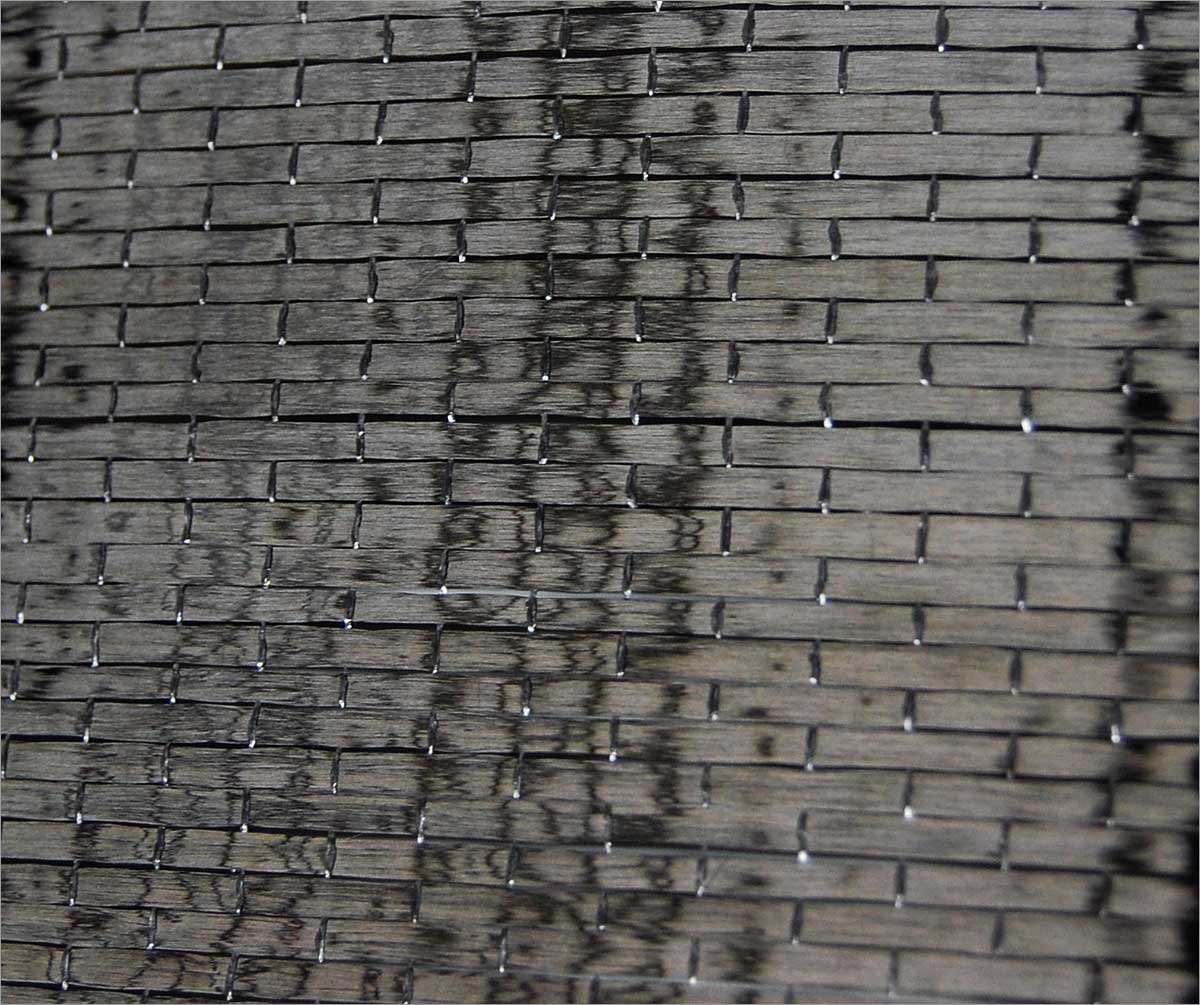
Matte fabric can be torn into properly sized pieces as needed.
-
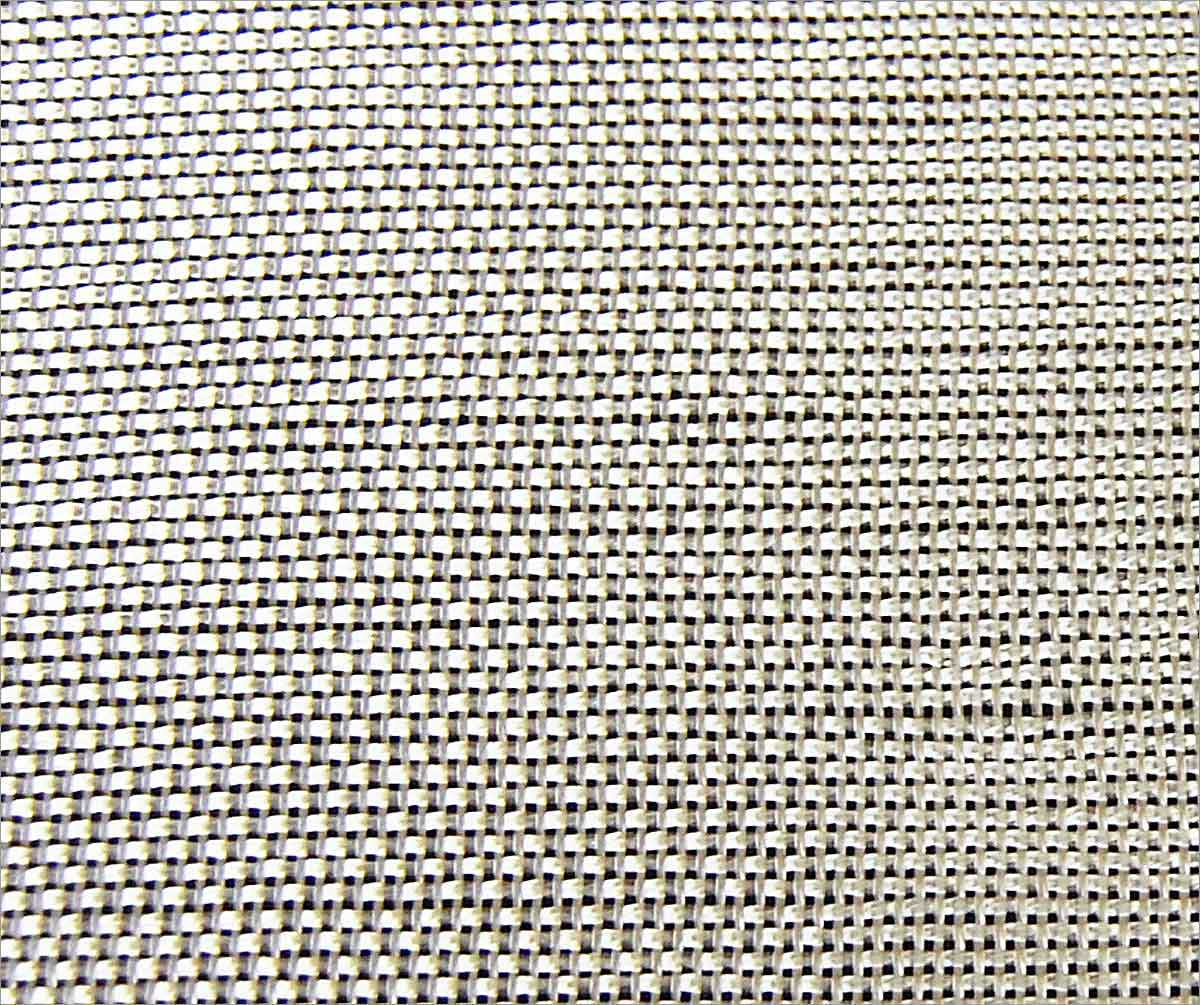
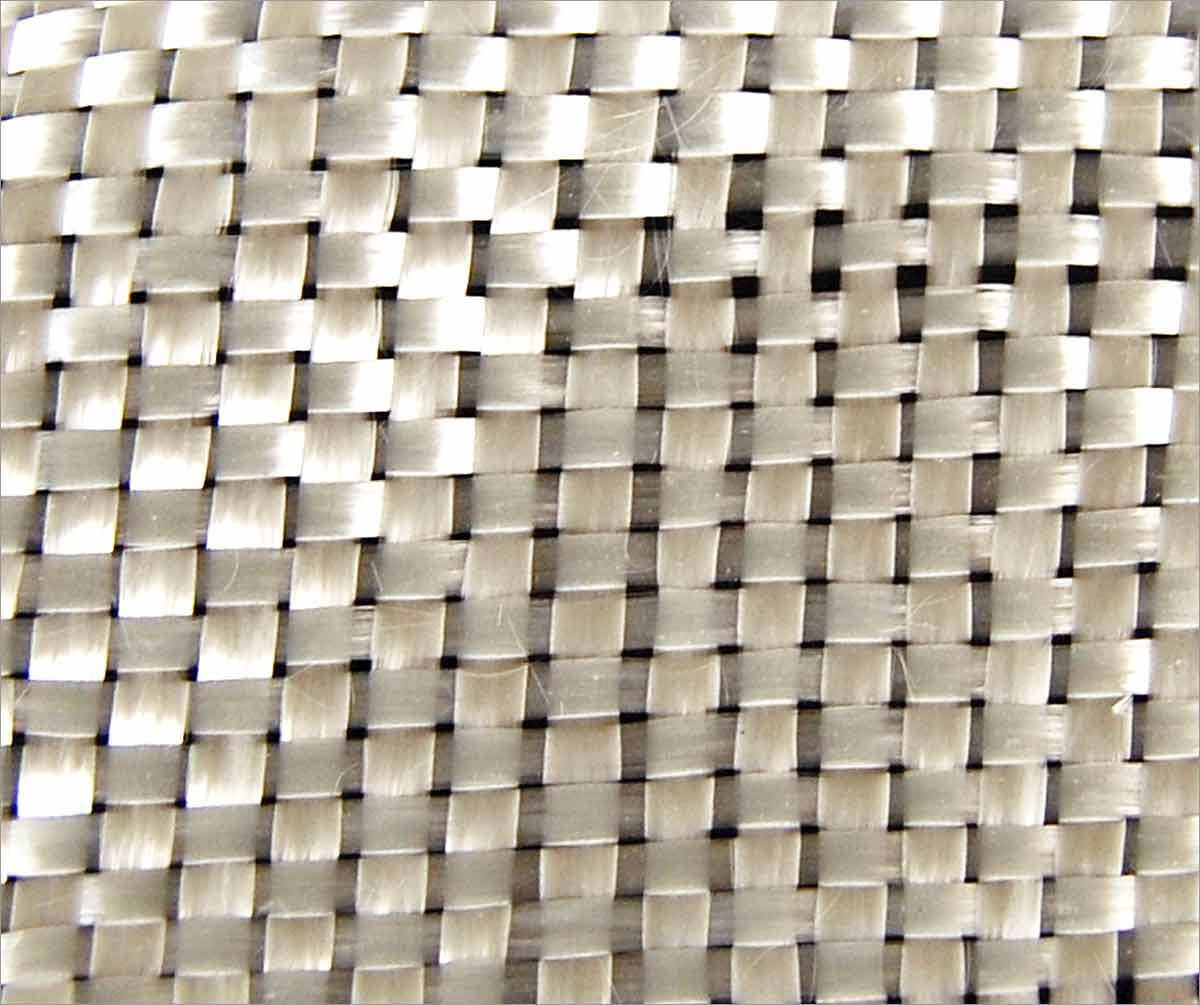
Modified twill fabric should be pre-cut to match the mold’s shape.
-
-
Position the Fabric:
-
Drape the cloth over the mold and smooth it out.
-
Make necessary cuts to ensure the fabric lays flat.
-
Mark the fabric for orientation during application.
-
Step 3: Apply PVA Mold Release
-
Spray a Light Film:
-
Use a Preval sprayer to apply a light film of PVA mold release.
-
Allow it to dry completely before proceeding.
-
Step 4: Apply Gel Coat
-
Choose Gel Coat Color:
-
Use white gel coat or mix a pigment with neutral gel coat for color customization.
-
-
Catalyze and Stir:
-
Follow manufacturer instructions for catalyst ratios.
-
Stir well to ensure proper curing.
-
-
Apply Gel Coat:
-
Pour the gel coat into the mold and rotate it to distribute evenly.
-
Avoid getting gel coat on the flange.
-
Use a brush to control the flow and remove excess.
-
Vibrate the mold to eliminate air bubbles.
-
-
Curing Time:
-
Allow the gel coat to cure for 45 minutes to a few hours, depending on temperature and catalyst ratio.
-
Step 5: Apply Resin and Fabric
-
Choose the Right Resin:
-
Use Bond Coat Laminating Resin for its long working time and cost-effectiveness.
-
-
Prepare the Work Area:
-
Lay a plastic bag or disposable surface near the mold.
-
-
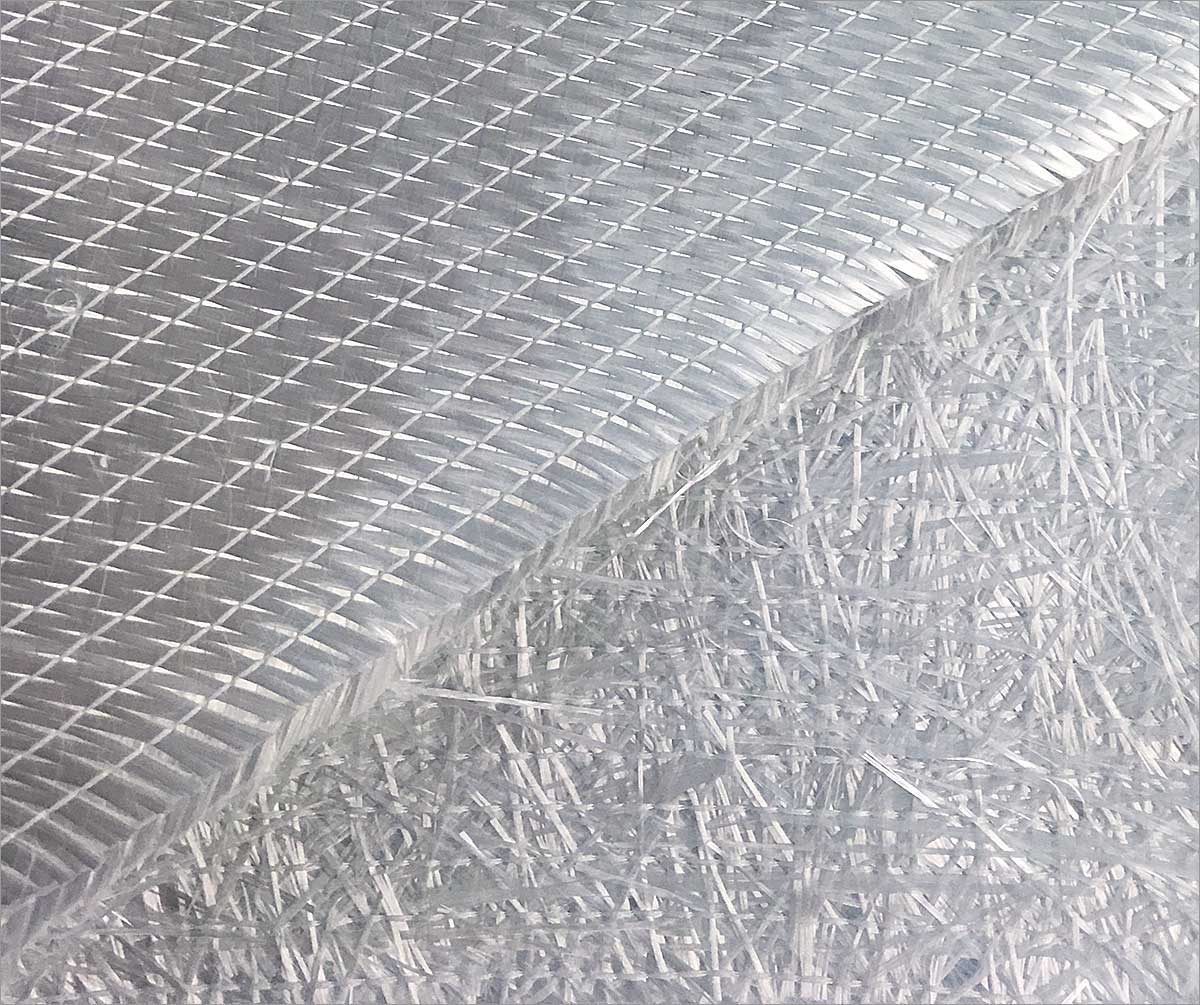
Apply Mat Fabric:
-
Mix the resin according to directions.
-
Wet out mat pieces on the work surface.
-
Apply them in an overlapping pattern, ensuring full coverage.
-
Extend fabric past the mold edges but avoid bending it over.
-
-
Eliminate Air Bubbles:
-
Use a dabbing motion with a brush (not strokes).
-
Small disposable rollers work well for this step.
-
-
Apply Modified Twill Fabric:
-
Lay fabric dry to absorb excess resin from the mat.
-
If needed, wet out the fabric before applying.
-
-
For Extra Strength:
-
Add additional layers of reinforcement.
-
Use a surface-curing agent in the final layer for a tack-free cure.
-
Step 6: Trim and Cure
-
Check the Curing Stage:
-
Check the resin every 15 minutes.
-
Wait until it reaches a leathery stage (firm but slightly flexible).
-
-
Trim Excess Material:
-
Use a sharp razor knife to cut excess material.
-
If done too early, fabric may shred; if too late, grinding may be needed.
-
-
Allow Full Cure:
-
Let the part cure completely before removal.
-
Step 7: Remove the Part from the Mold
-
Break the Bond:
-
Use a plastic or wood wedge to loosen edges.
-
Avoid metal tools that may scratch the part or mold.
-
-
Pop the Part Out:
-
Apply slight leverage until the part releases from the mold.
-
-
Wash Off PVA Residue:
-
Use water to remove any remaining green PVA mold release.
-
Final Tip
Before working on a large or critical project, experiment on a small scale to familiarize yourself with material behavior and techniques.
By following these steps, you can successfully create a strong and well-finished fiberglass part from a mold.