How to Apply Vinyl Graphics
How to Install Self-Adhesive Vinyl Graphics for a Professional Finish
Self-adhesive vinyl graphics are an affordable and durable way to create professional signage for both indoor and outdoor applications. By following these step-by-step instructions, you can achieve expert results with ease.
Materials Needed:
-
Self-adhesive vinyl graphics
-
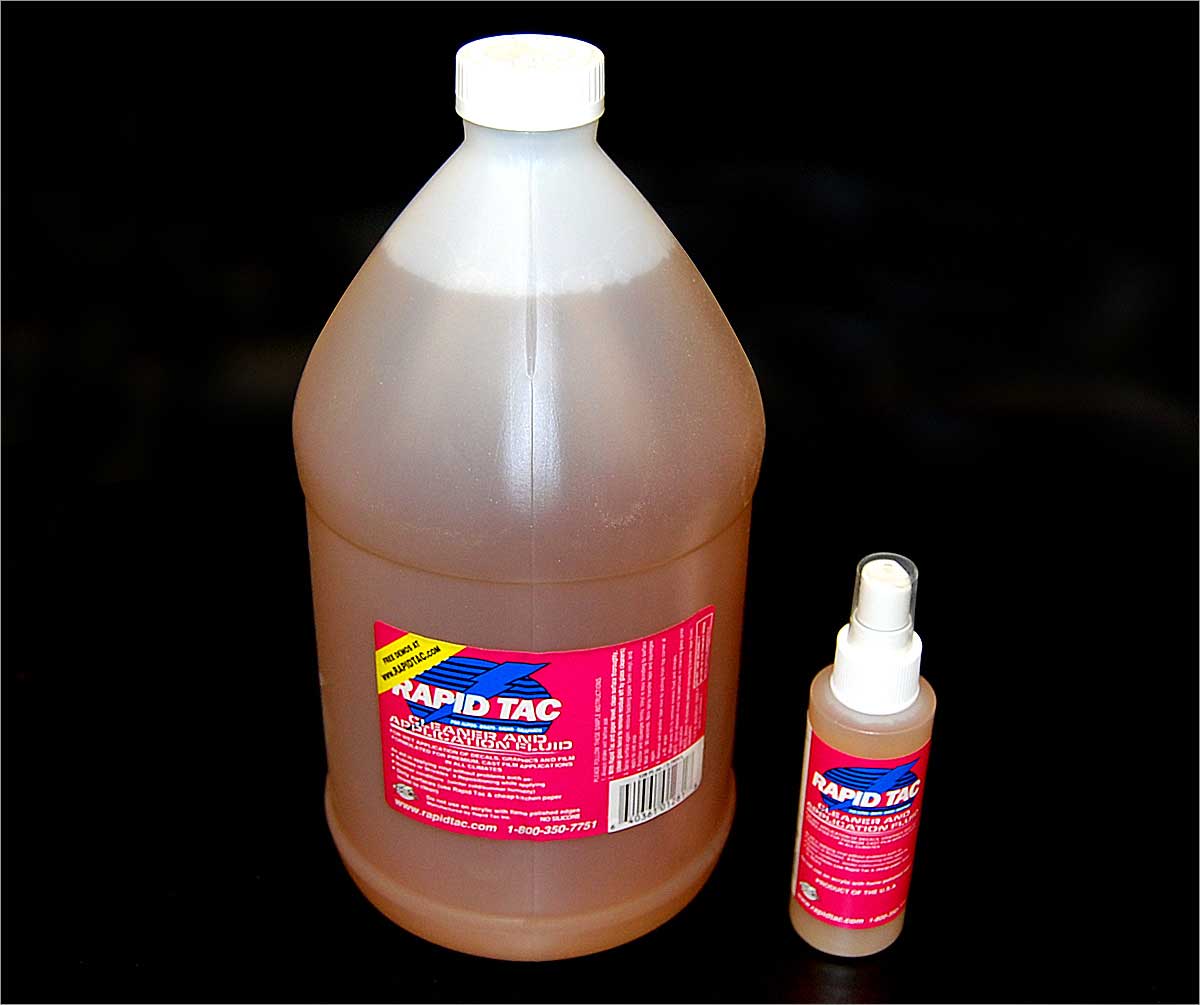
Rapid Tac vinyl application fluid (recommended)
-
Lint-free cloths (Lint-Free Wipes or Microfiber Cloths)
-
Masking tape (1 inch or wider)
-
Level
-
Plastic squeegee
-
Assistant (optional but helpful)
Step 1: Prepare the Surface
-
Clean the Surface Thoroughly
-
Use Rapid Tac vinyl application fluid to remove any residue that could weaken the adhesive.
-
Clean the surface twice with Rapid Tac, then wipe it dry with a lint-free cloth.
-
Allow sufficient time for the cleaner to evaporate completely before proceeding.
-
-
Check Environmental Conditions
-
The surface should be shaded and at a temperature between 50°F and 100°F.
-
Avoid windy conditions, as they can make the application process more difficult.
-
Step 2: Position the Vinyl Graphics
-
Align and Secure the Graphics
-
Use a level to ensure the graphics are straight.
-
Tape the top edge of the graphics securely with masking tape to create a hinge. Overlap two pieces of tape if needed for extra security.
-
-
Ensure Firm Contact
-
Flip the graphics upward so that the paper release liner is facing you.
-
Use a plastic squeegee to rub over the liner to ensure the vinyl adheres well to the masking tape.
-
Step 3: Apply the Vinyl
-
Prepare the Surface
-
Lightly spray the target area with Rapid Tac.
-
-
Remove the Release Liner
-
Carefully peel back the paper liner at a 180° angle, pulling slowly from one corner.
-
If available, have an assistant help hold the graphics in place.
-
-
Squeegee the Vinyl to the Surface
-
Start at the top near the hinge and center of the graphics.
-
Using firm pressure, squeegee downward from the center to the sides in slightly overlapping strokes.
-
Each squeegee stroke should overlap by half the width of the squeegee.
-
-
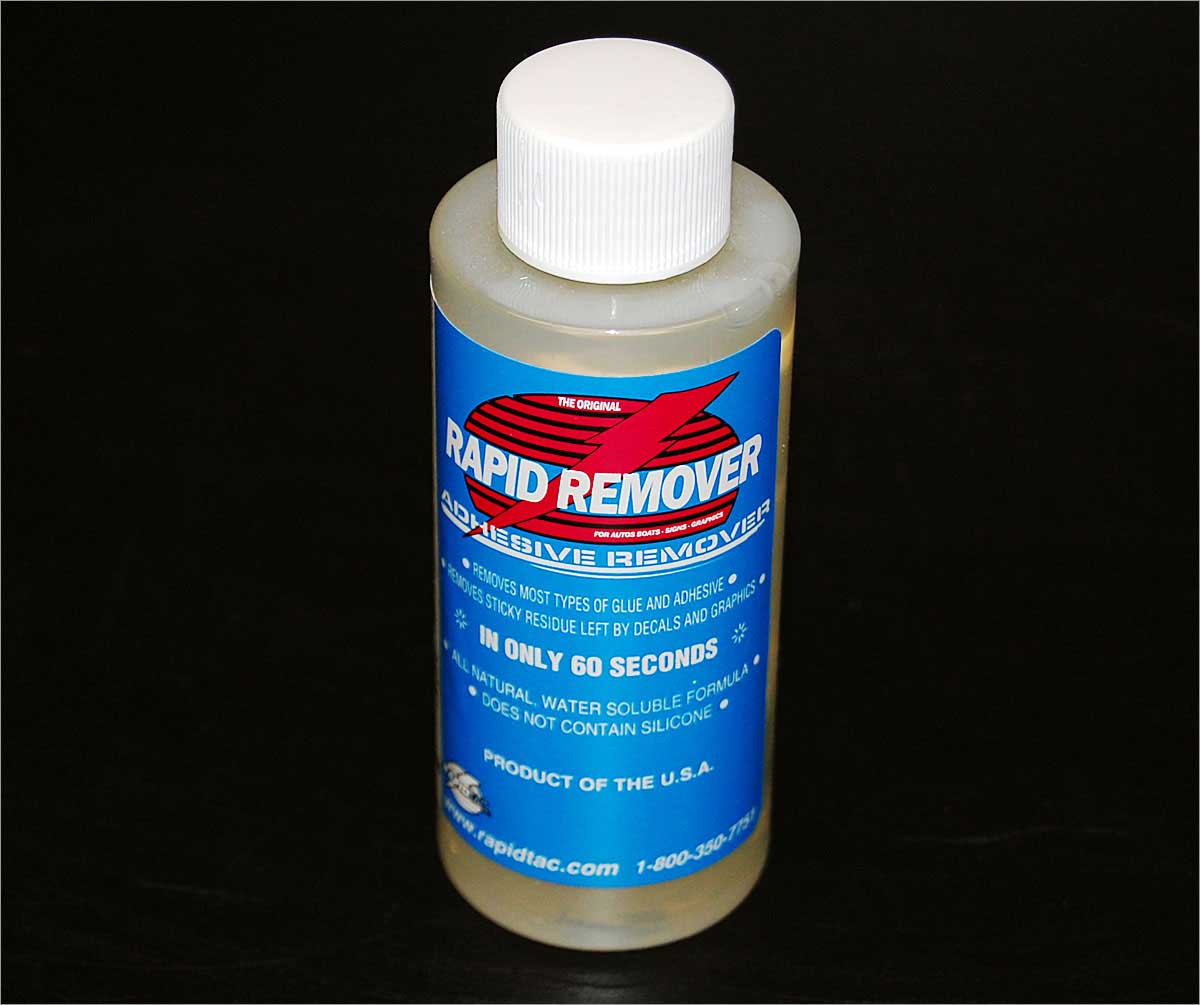
Reapply Rapid Tac and Remove Masking
-
Spray more Rapid Tac on the masking tape to help with removal.
-
Peel off the masking paper at a 180° angle.
-
If a letter begins to lift, squeegee it again and wait a few minutes before retrying.
-
-
Final Adhesion and Cleanup
-
Use the wax side of the paper release liner to resqueegee the letters, ensuring strong adhesion.
-
Remove any remaining liquid with a lint-free cloth.
-
Caring for Your Vinyl Graphics
-
Clean with mild soap and water.
-
Do not use abrasives, bleach, or solvent-based cleaners.
-
Wipe carefully to avoid lifting the edges of the vinyl.
With the right tools and technique, you can install professional-looking vinyl graphics quickly and easily. Need high-quality vinyl lettering? Visit TAP Plastics online or at one of our 20 store locations!