How to Build a Box with Plastic
How to Build a Basic Acrylic Box: A Step-by-Step Guide
Plastic is a fantastic material for creating a variety of projects, from display cases and screen protectors to computer enclosures, artwork, and even robotics. One practical application is a custom-made acrylic organizer that fits perfectly inside a drawer. The great news? You can build projects like these yourself with minimal tools! This guide will walk you through constructing a basic five-sided acrylic box using simple techniques.
What You'll Need
-
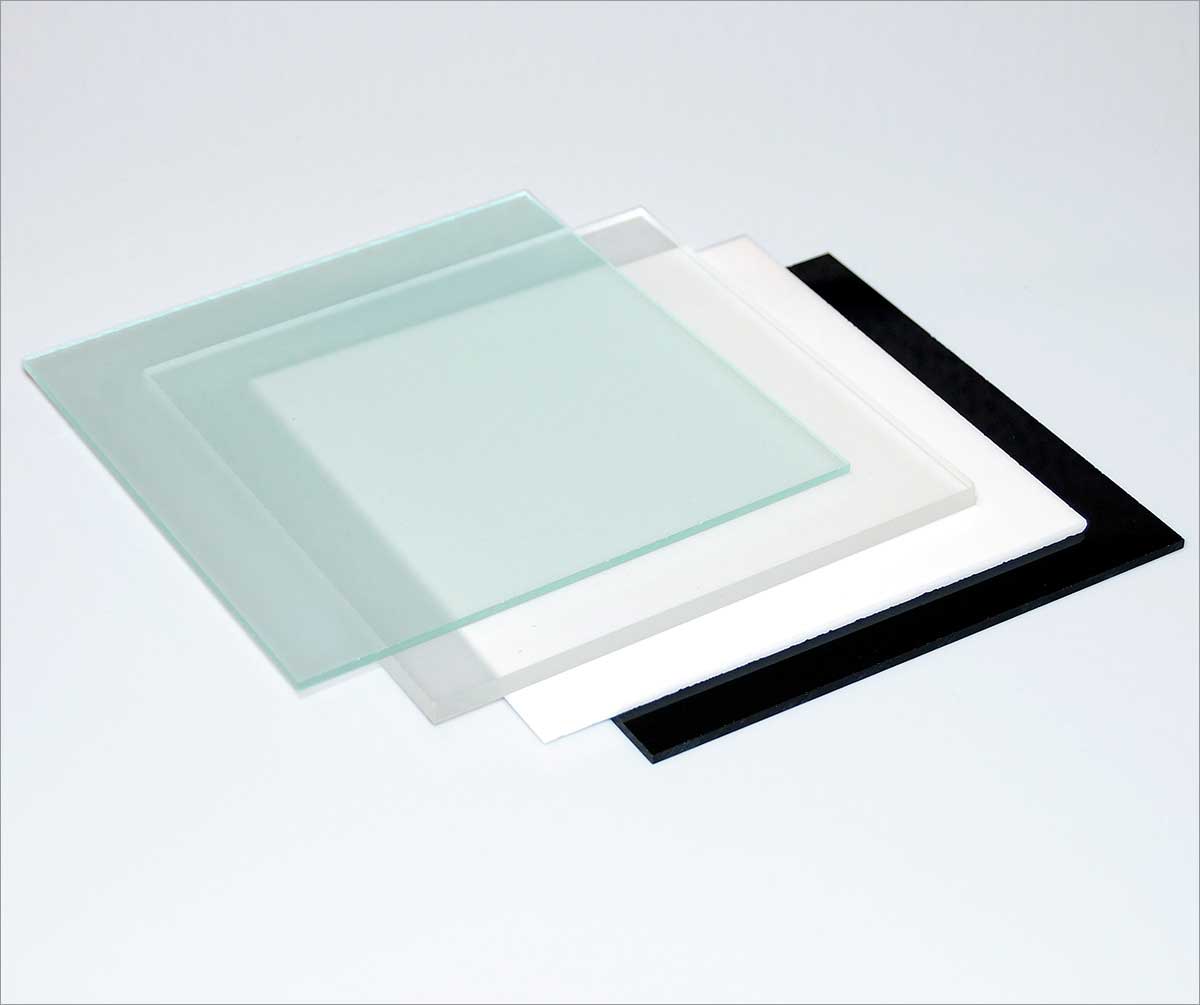
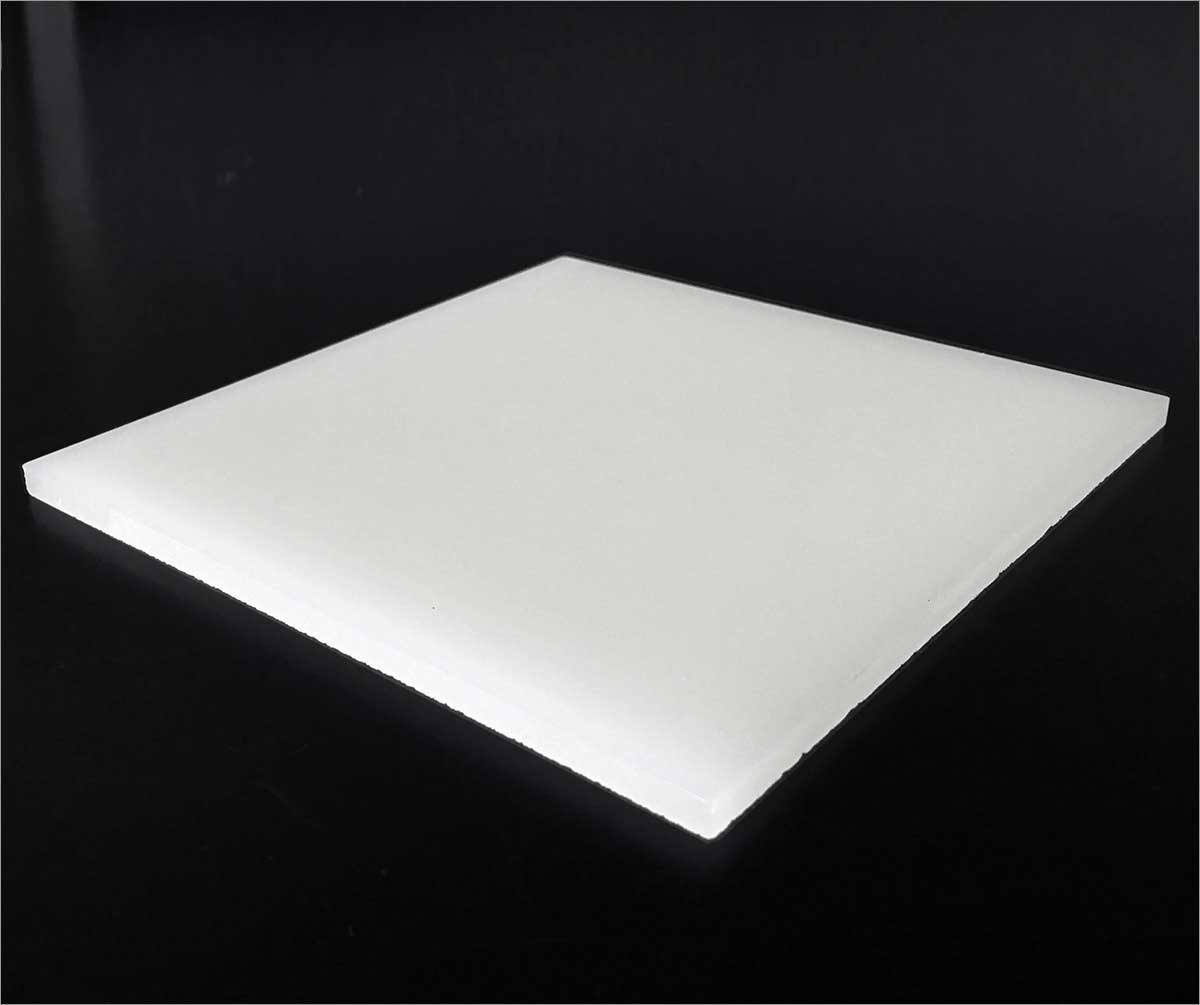
Acrylic Sheets (1/4-inch acrylic recommended for ease of use)
-
Table Saw (10-inch, 60-tooth carbide-tipped blade recommended)
-
Router (Optional) (for smooth edges before gluing)
-
Applicator
-
Protective Masking Tape
-
MAPP Gas Torch (for polishing edges)
-
Brillianize Cleaner (for finishing touch)
Step 1: Determine Dimensions & Cut List
For this guide, we'll build a 10-inch x 10-inch x 10-inch box. The cutting dimensions are as follows:
-
Top piece: 10" x 10"
-
Two outside side pieces: 10" x 9 3/4"
-
Two inside side pieces: 9 1/2" x 9 3/4"
Since the side pieces sit on top of the base, we subtract 1/4-inch thickness where necessary to ensure proper fitting.
Pro Tip: TAP Plastics offers free cutting services, so you can get the exact dimensions you need without extra effort.
Step 2: Cutting the Acrylic
If cutting the acrylic yourself, use a table saw with a sharp blade to ensure smooth, chip-free edges. Check out TAP Plastics’ video on how to cut plastic sheets for more details.
Optional: Routing the edges before gluing improves the final appearance but is not mandatory.
Step 3: Preparing for Gluing
-
Remove the protective masking from the areas that will be glued.
-
Lay one of the larger side pieces flat on your work surface.
-
Place an inside side piece against it at a 90° angle, flush with the edge.
Step 4: Gluing the Pieces
We’ll use a basic glue-in-place method for simplicity. (A more advanced method involves leaving a slight overhang and routing the edges flush after assembly.)
-
Apply acrylic glue with an applicator to the joint between the two side pieces.
-
Hold the pieces steady for a few minutes until the glue sets. Small air bubbles in the joint are normal.
-
Repeat for the opposite side.
-
Allow the glued pieces to set for at least 20 minutes.
-
Carefully invert the structure and glue it to the fourth side.
-
Let dry for another 20 minutes.
-
Finally, attach the four sides to the top piece and apply glue.
-
Allow the assembled box to cure for 24 hours.
Step 5: Finishing Touches
-
Polish the Edges: Use a MAPP gas torch to give the edges a polished look.
-
Clean the Box: Wipe the surface with Brillianize cleaner for a pristine finish.
-
Admire Your Work! You’ve just built a functional, custom acrylic box!
Final Thoughts
This method provides a simple yet effective way to build an acrylic box, perfect for organizers, display cases, and more. Once you master this technique, you can expand your skills to create more complex acrylic projects for home and office use. Happy building!