How To Glue Acrylic
A Beginner's Guide to Gluing Acrylic: Tips and Techniques
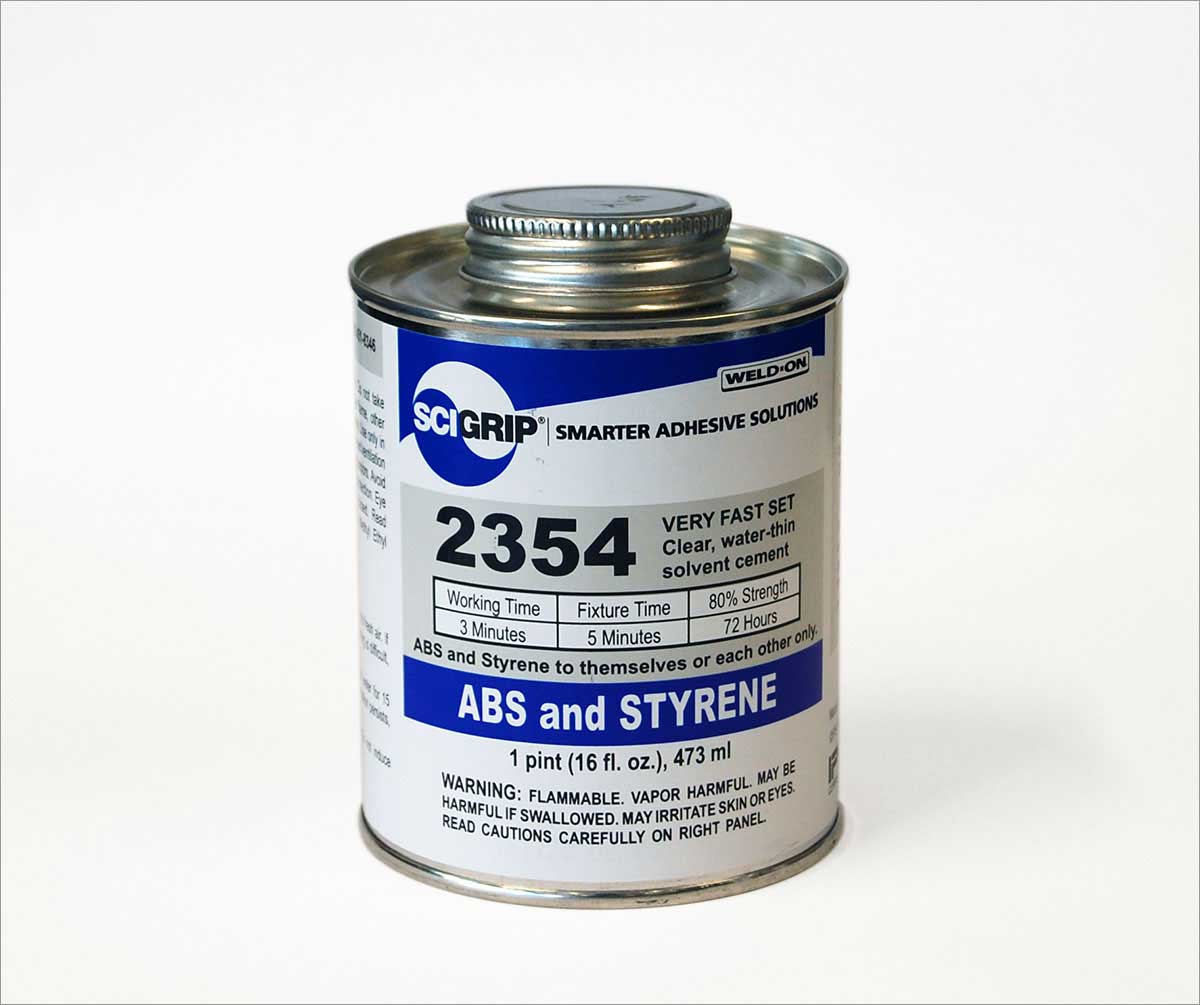
Gluing acrylic is a unique process that differs significantly from traditional household gluing. Instead of relying on adhesive properties, acrylic cement works by softening the plastic surfaces, allowing them to merge at a molecular level—similar to welding. This method, often called solvent welding, creates a strong, seamless bond. Below, we outline the essential steps and tips to ensure a successful acrylic bonding process.
Understanding Acrylic Cement
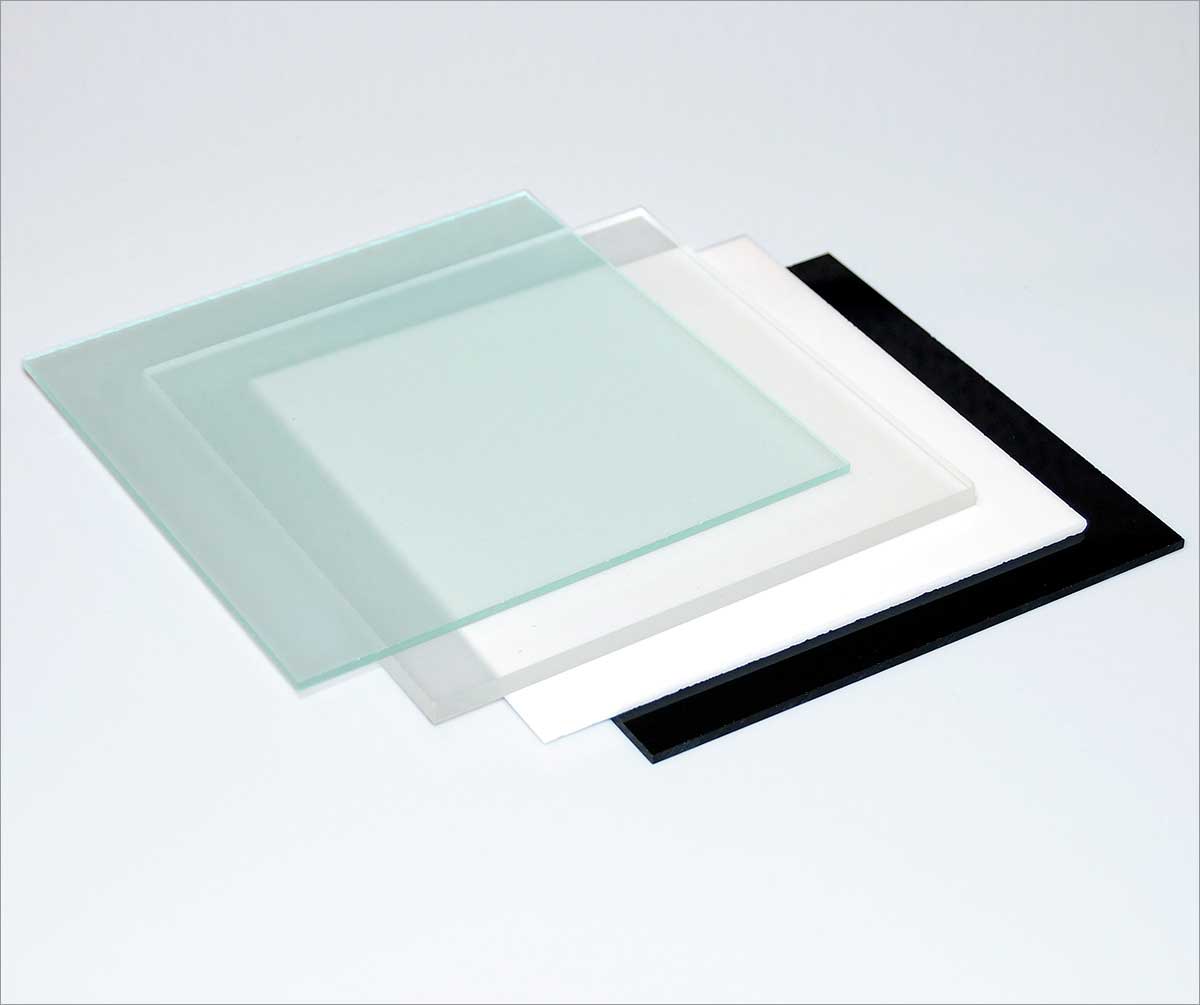
Unlike household glue, acrylic cement is a water-thin solvent that does not fill gaps or act as an adhesive on other materials. Instead, it chemically fuses acrylic pieces together. Because of this, achieving smooth, flush surfaces before bonding is crucial.
Tools and Materials Needed
-
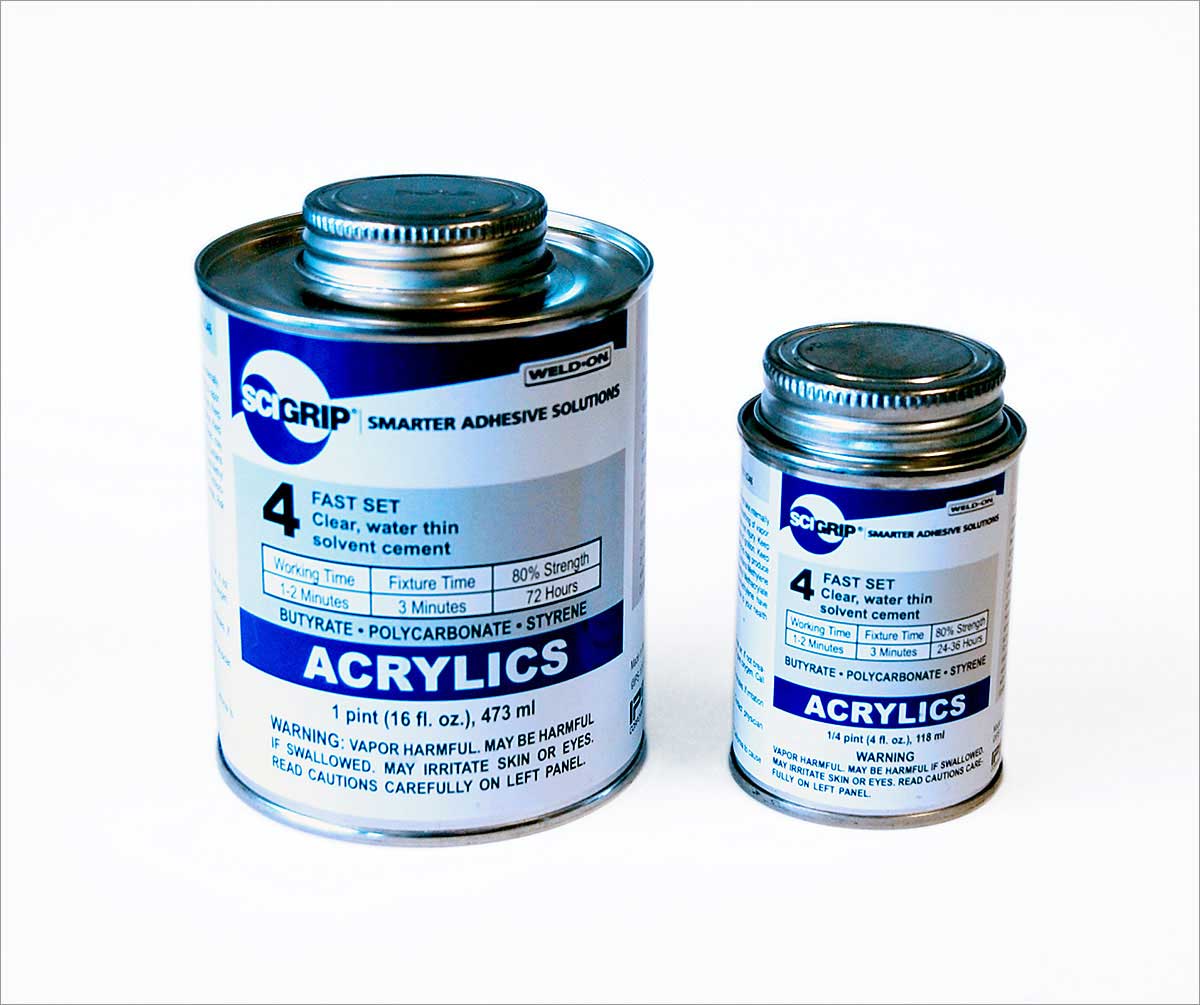
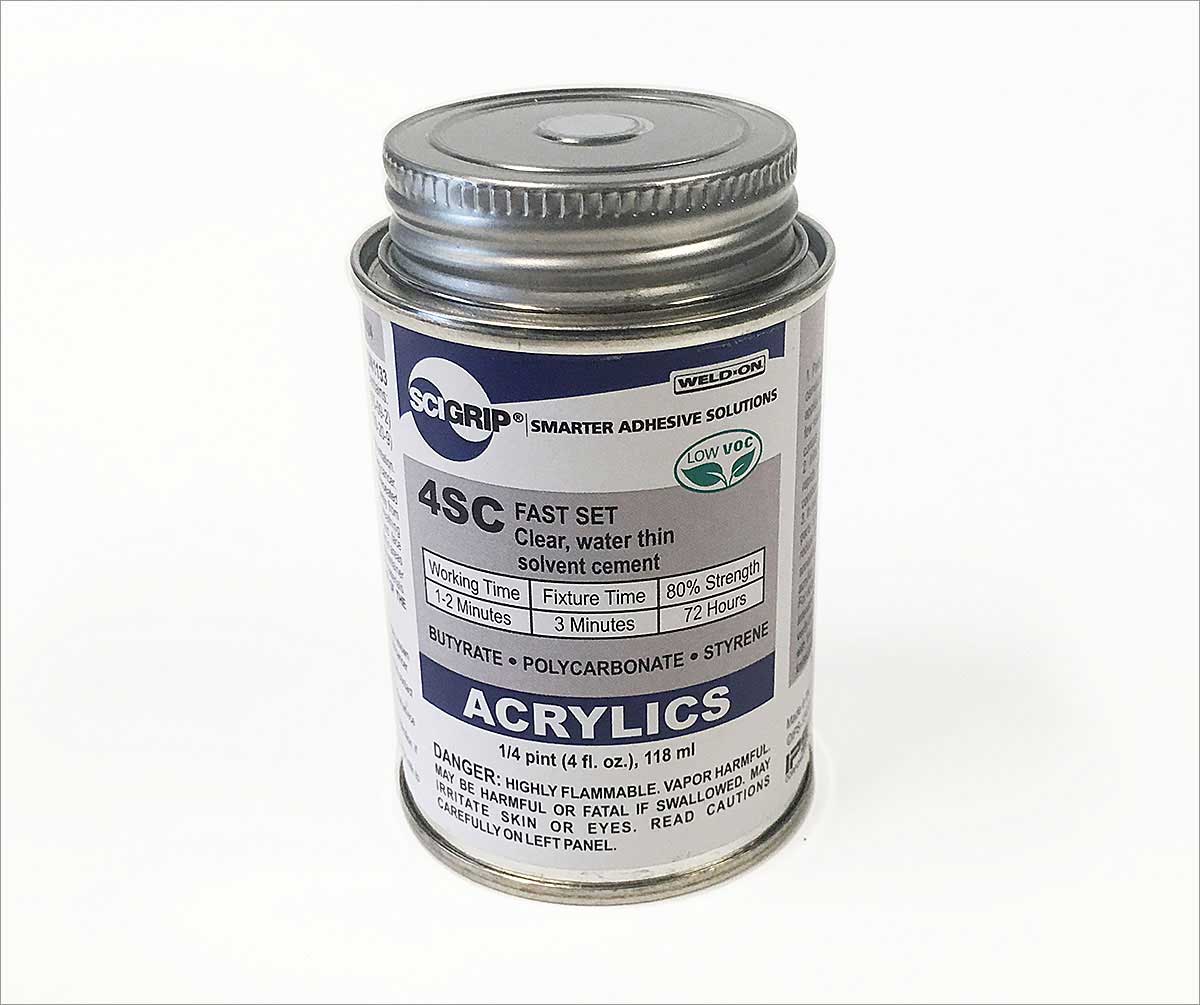
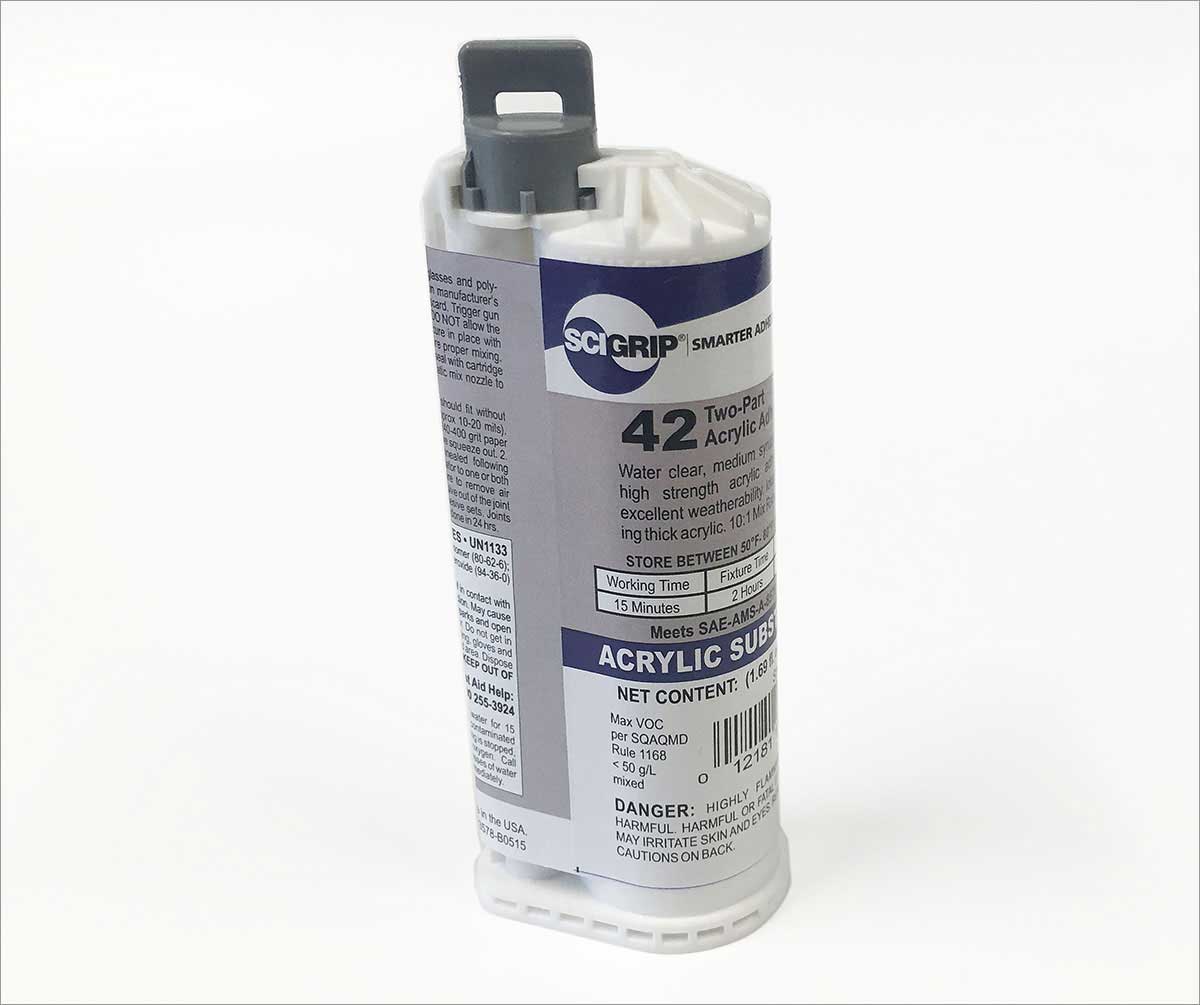
Acrylic cement (solvent-based)
-
Funnel (for filling applicator)
-
Rubber gloves and safety glasses
-
Combination square (for alignment)
-
Clamps or weights (if needed)
-
Router or fine sandpaper (for edge preparation)
-
MAPP gas torch (for edge polishing)
Preparation Before Gluing
-
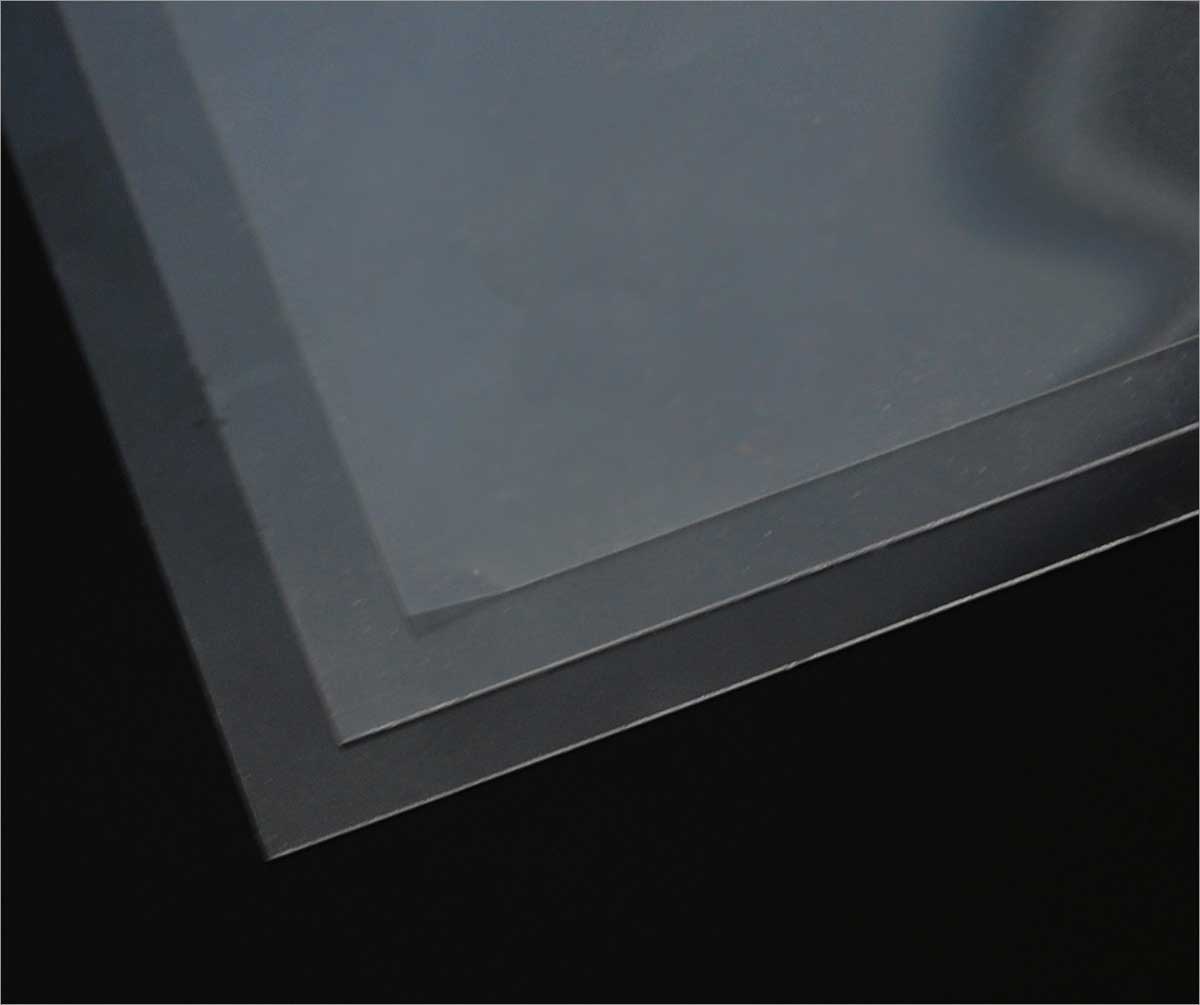
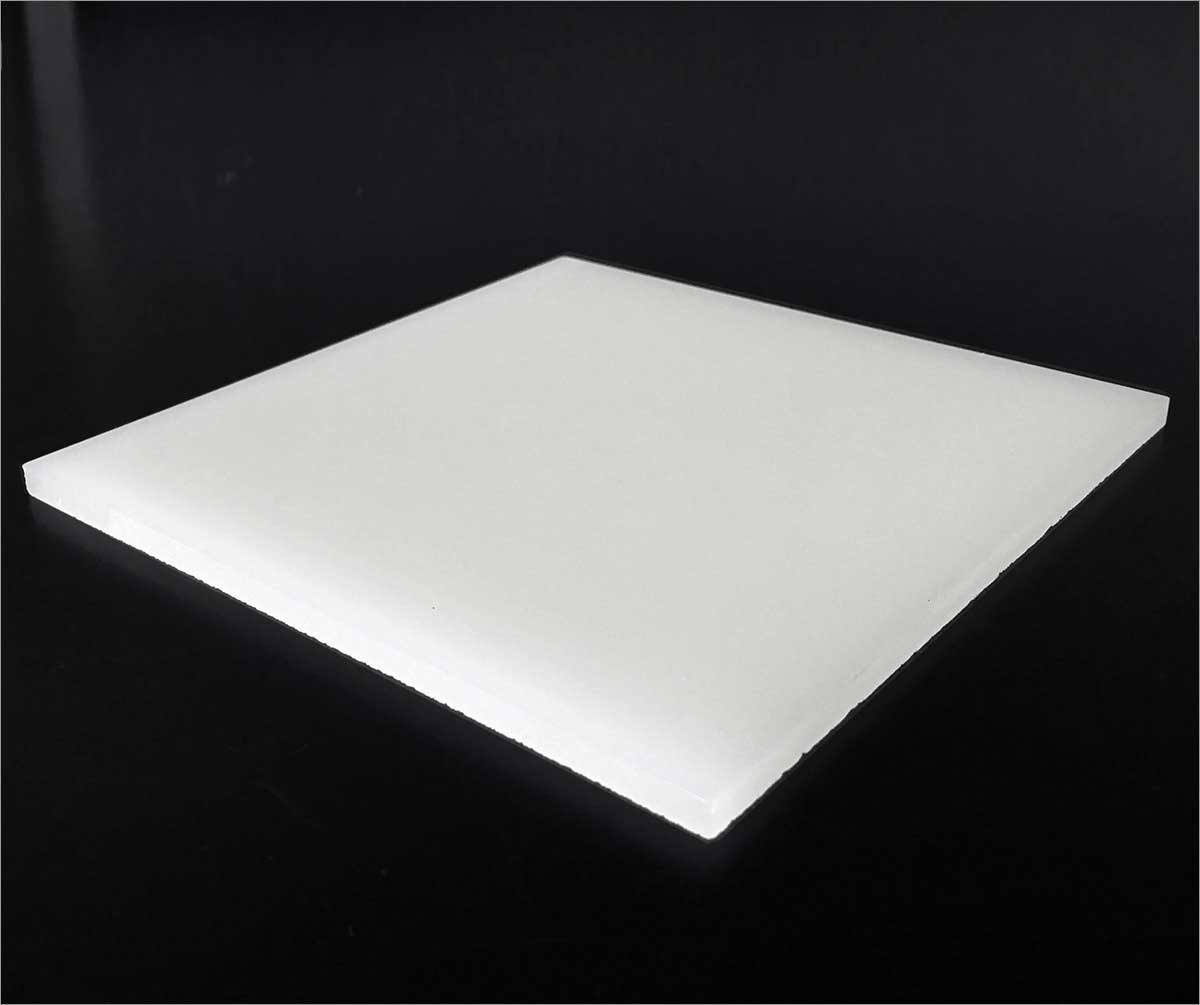
Ensure Flat and Smooth Surfaces – The bonding edges must be smooth and even. Saw-cut edges, particularly those from a bandsaw, may be too rough for strong adhesion. If possible, use a router to create a clean edge. If a router is unavailable, lightly sand the edges, taking care not to round them.
-
Arrange and Align – Position the acrylic pieces in their final placement. Using a combination square can help maintain proper alignment, especially for right-angle joints.
-
Prepare the Applicator – Fill the hypo applicator with acrylic cement using a funnel. Do not fill more than ¾ of the applicator to prevent spills.
Applying the Acrylic Cement
-
Control the Applicator – Before applying the cement, squeeze some air out of the applicator. Invert it and then release the pressure slightly to prevent drips that can mar the acrylic surface.
-
Apply the Cement – Place the needle at the edge of the joint and gently squeeze the applicator while pulling it along the seam. The cement will naturally wick into the joint due to capillary action. If gaps are present, the cement will not flow correctly, resulting in a weak bond.
-
Allow Initial Setting – The bond will become strong enough to hold after just a few minutes, but full strength is reached in 24 to 48 hours.
Post-Gluing Finishing Touches
-
Trimming Excess Material – If alignment is slightly off, use a flush router bit with a bearing to trim excess material for a perfect edge.
-
Polishing the Joint – To achieve a polished, professional finish, run a MAPP gas torch lightly along the glued edge. Be sure to wait at least 24 hours after gluing before applying heat. Propane is not recommended for this step.
Special Considerations
-
Gluing Acrylic Accessories – The same technique can be used for attaching acrylic handles, knobs, and other accessories.
-
Gap-Filling Alternative – If bonding irregular shapes or pieces with gaps, consider using Weld-On 16, which dries clear and provides strong adhesion.
-
Handling Spills – If cement drips onto an acrylic surface, do not wipe it. Let it evaporate naturally to avoid surface damage.
Conclusion
With the right materials and careful technique, acrylic solvent welding produces strong, clear, and professional-quality joints. By following these tips and practicing proper application methods, you can achieve durable and aesthetically pleasing results for your acrylic projects. Happy fabricating!