How to Make a Latex Mold
How to Make a Simple Latex Mold with TAP Premium Liquid Latex Rubber (NOTICE: TAP Premium Liquid Latex Rubber has been DISCONTINUED)
Creating a latex mold is an excellent way to replicate objects with fine details. This guide walks you through the basics of making a simple latex mold using TAP Premium Liquid Latex Rubber.
Step 1: Preparing Your Object for Molding
Evaluating the Shape
Before you begin, assess the shape of the object you want to mold. Different shapes present unique challenges. In this guide, we focus on molding a flat piece, which is one of the simplest forms.
Attaching the Object to a Base
To ensure stability during the mold-making process, securely attach the object to a nonporous surface.
-
A glue gun is an effective temporary adhesive that can be peeled off later.
-
Fill any gaps between the object and the base using a glue gun or clay.
Creating a Flat Base (For Objects Without One)
If your object does not have a natural flat base:
-
Use clay to create a stable foundation.
-
Press the object into a flat slab of clay.
-
Trim the edges with a sharp blade to create a natural-looking transition.
Step 2: Applying the Latex
Initial Application
-
Latex can be applied straight from the can.
-
Wet the brush before use to make cleaning easier.
-
Latex does not stick to most non-porous surfaces, but always test a small, inconspicuous area first.
-
The first coat is crucial as it captures all the fine details of the object. Avoid thick areas or puddles, as they may not dry properly and can ruin the mold.
-
Extend the latex beyond the object's edges by 1–2 inches to form a supporting flange.
-
Remove any bubbles by blowing them out with compressed air.
Step 3: Drying the Latex
-
Allow the first coat to dry completely. Drying time varies between 15 minutes and 2 hours, depending on environmental conditions.
-
To speed up drying, use a fan or a hair dryer.
-
Between coats, wrap the brush in a plastic bag to avoid cleaning or rinse it with clean water.
-
Ensure each coat is fully dry before applying the next.
Step 4: Applying Successive Coats
-
Apply each additional coat within 24 hours of the previous one to prevent delamination.
-
TAP Premium Liquid Latex requires approximately 8 coats for an effective mold.
-
After the final coat dries, the mold could be removed, but it would be too flexible for accurate casting.
Step 5 - Option 1: Creating a Mother Mold
To provide support for the latex mold, a rigid outer shell (mother mold) is necessary. Two common methods are plaster and fiberglass.
Plaster Mother Mold
-
Mix plaster of Paris with water according to the instructions.
-
Spread the mixture over the latex mold.
-
Ensure there are no undercuts that would prevent the plaster from being removed later.
-
To create a flat resting surface, slide a smooth board or plastic across the back before the plaster hardens.
-
Plaster hardens in under an hour. Once set, remove it carefully.
-
Detach the latex mold from the original object and place it inside the plaster shell.
-
Note: Plaster is heavy, making it less ideal for large molds.
Step 5 - Option 2: Fiberglass Mother Mold
For a lighter and stronger alternative, use fiberglass:
-
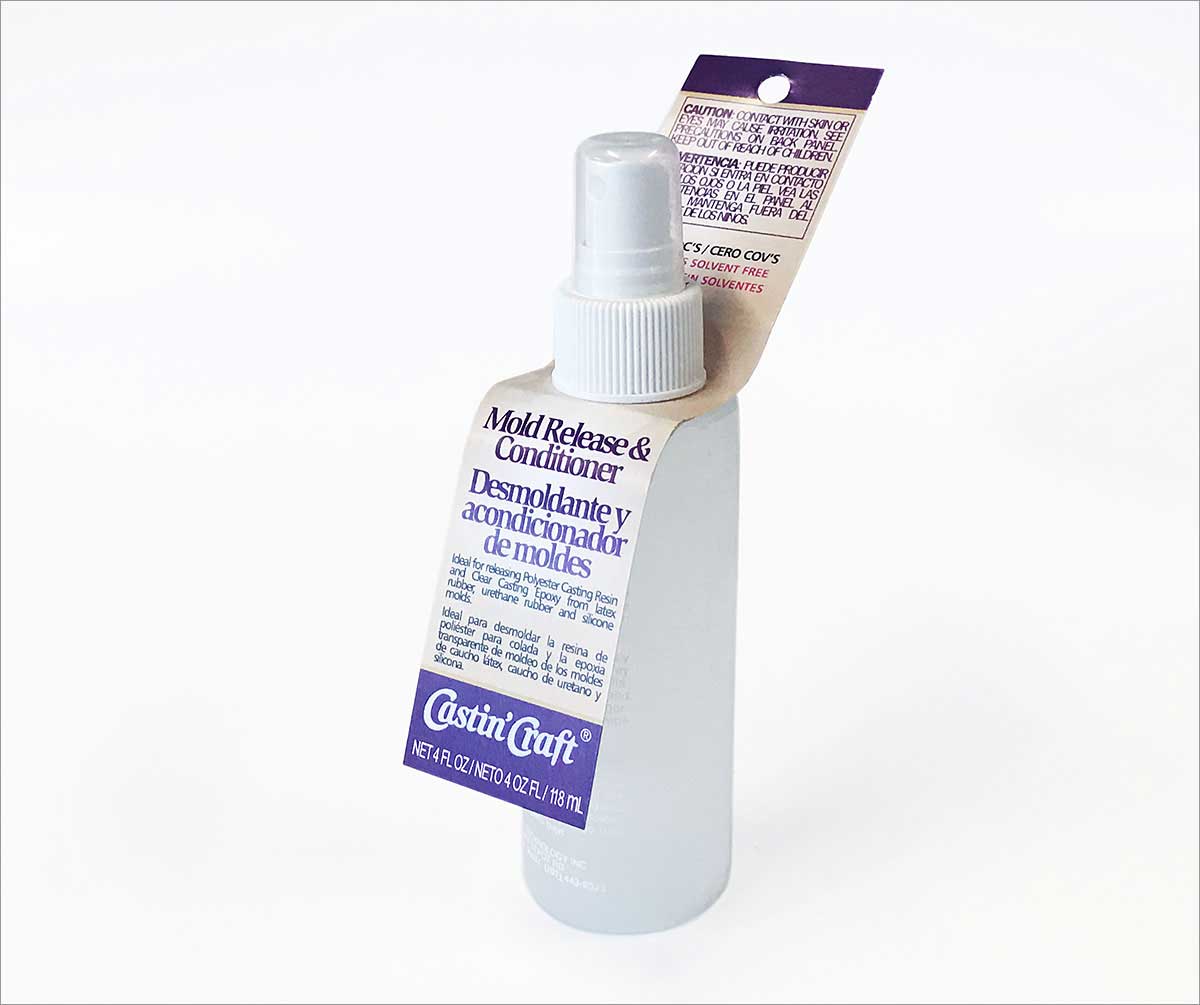
Apply a mold release agent to the latex mold. If unavailable, cooking spray works as a substitute.
-
Prepare TAP Surfboard Resin by adding the correct amount of hardener as per the product instructions.
-
Brush resin onto the latex surface.
-
Apply fiberglass mat in small pieces, pressing them into the resin using a brush to ensure saturation.
-
Avoid extending the resin past the latex edge to prevent bonding with the base material.
-
Allow the fiberglass to cure (curing time varies from 1 hour to overnight, depending on conditions and catalyst ratio).
-
Once fully cured, carefully remove the fiberglass mother mold.
-
Peel the latex mold off the original object and place it back into the mother mold for casting.
Ready for Casting
With the latex mold secured in its mother mold, you are now ready to create accurate castings. This method is ideal for replicating fine details and producing high-quality molds for various applications.
By following these steps, you can successfully create durable and precise latex molds for your projects. Happy molding!