How to Make a Two-Part Mold
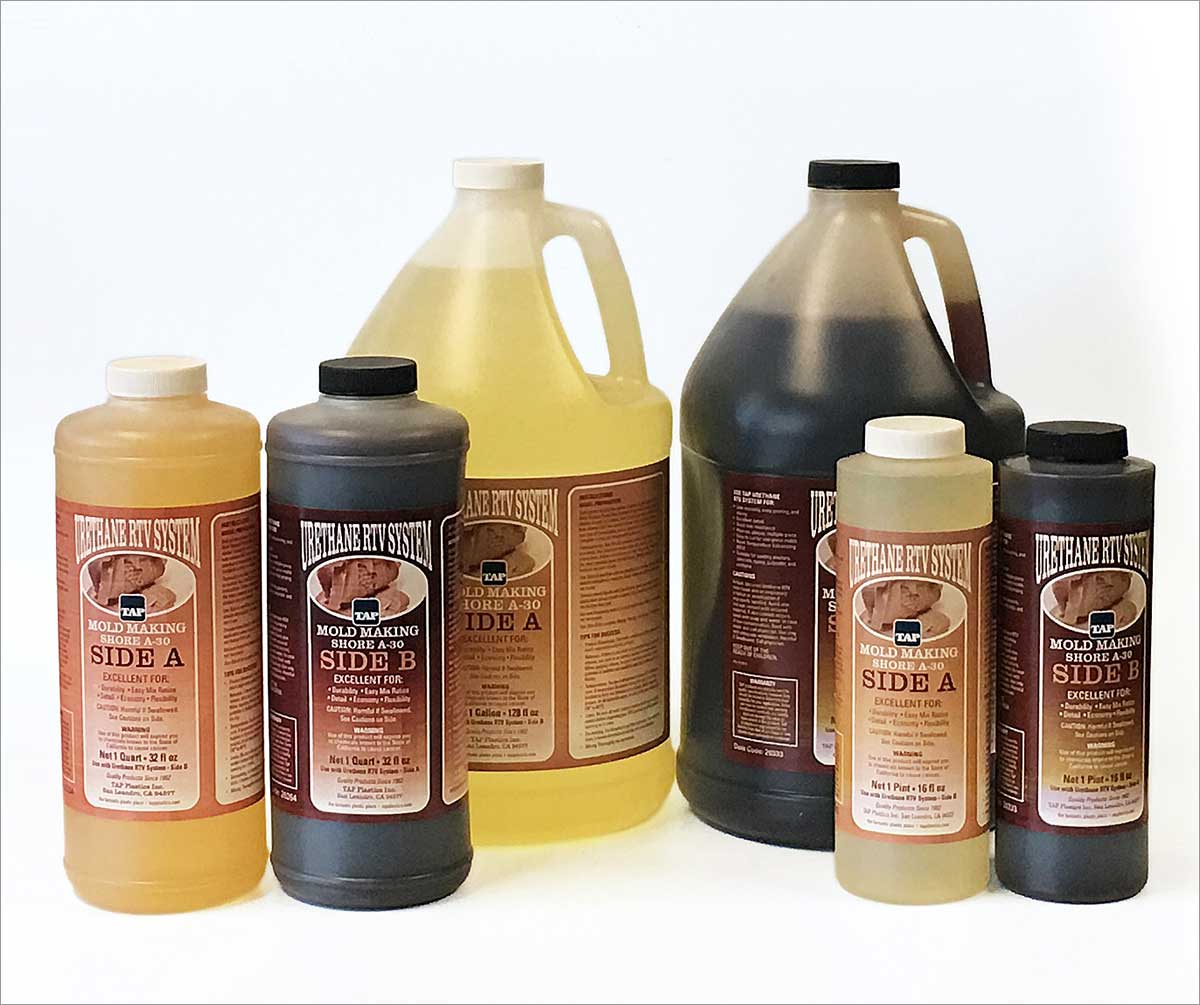
How to Make a Simple Two-Part Mold Using Urethane RTV Rubber
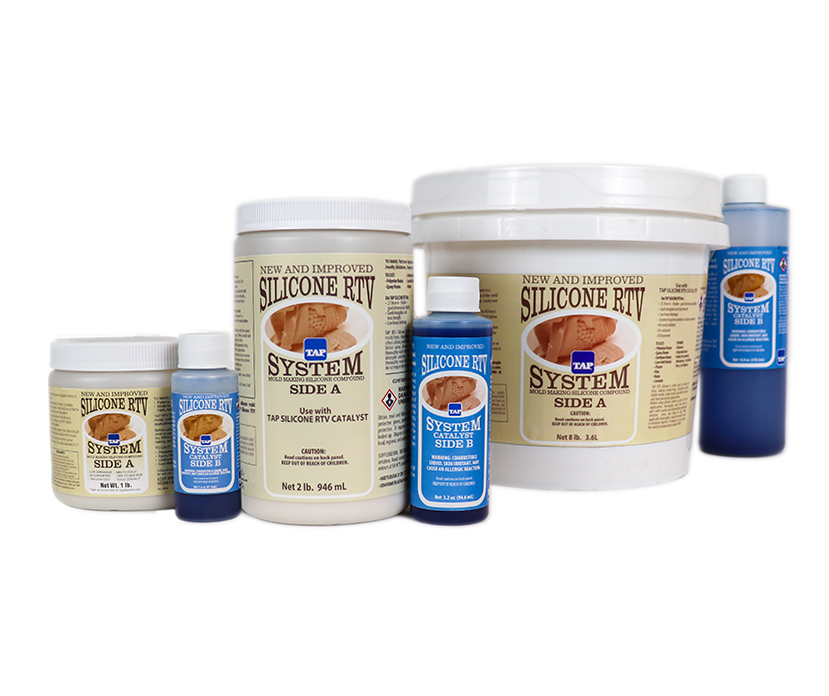
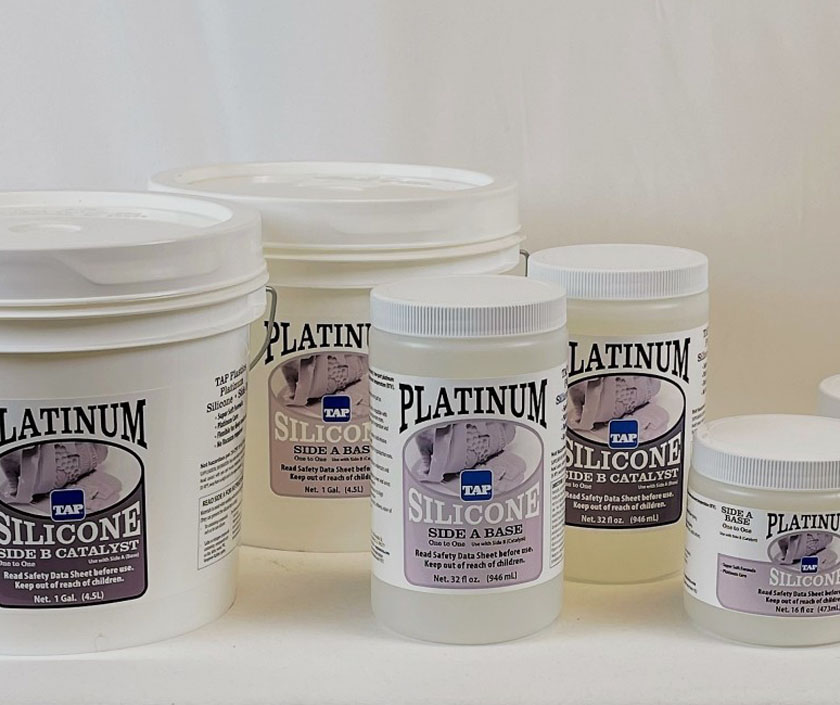
Creating a two-part mold is essential for capturing the details of complex shapes that cannot be removed from a one-part mold. This guide will walk you through the step-by-step process of making a two-part mold using urethane RTV rubber. The same process can also be applied to silicone RTV rubber.
Step 1: Preparing the Part and Mold Container
-
Determine the Mold Line – Analyze the shape of your part and decide where the two halves of the mold should come together.
-
Create a Mold Container – Construct a mold box using acrylic strips, leaving at least a 1/4-inch space around the part. Secure the sides together with a glue gun, ensuring a watertight seal.
-
Attach the Base – Lightly glue the base to the box. The bond should be strong enough to prevent leaks but weak enough for easy removal later.
Step 2: Embedding the Part in Clay
-
Use Non-Hardening Clay – Embed the part halfway into a non-hardening clay base. Smooth the surface to prevent any liquid rubber from seeping underneath.
-
Create Registration Keys – Press a pencil end or similar tool into the clay near the corners to form small indentations. These will help align the two halves of the mold.
Step 3: Preparing and Pouring the Urethane
-
Measure the Required Urethane – Pour rice into the mold to estimate the volume needed, then transfer the rice into a measuring cup.
-
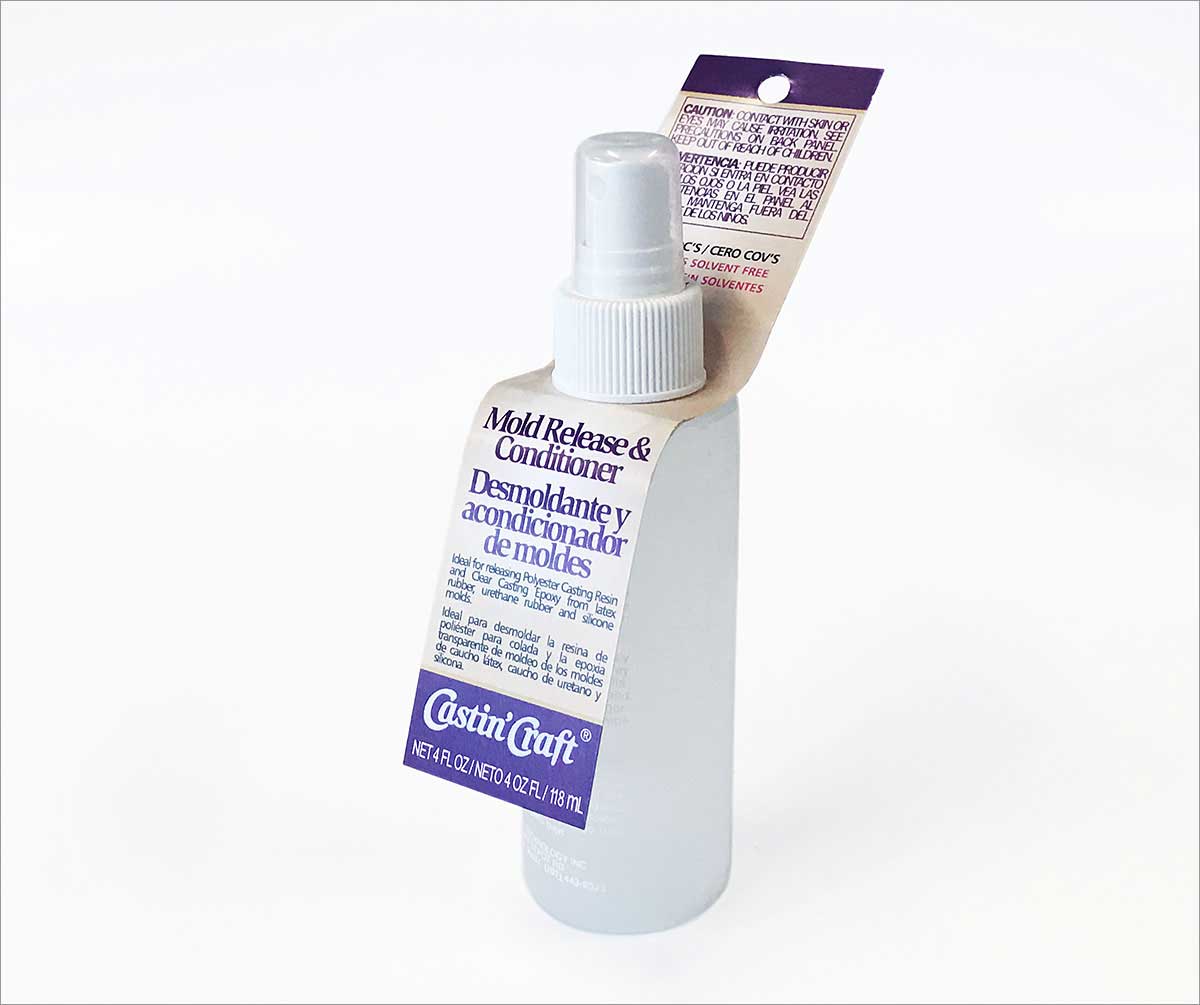
Apply Mold Release – Use a light misting of Pol-Ease 2300 Mold Release to ensure easy separation later.
-
Mix and Pour the Urethane – Prepare the urethane in a 1:1 mix ratio. Pour it slowly into the mold's corner, allowing it to flow and push air out naturally. Avoid pouring directly onto the part to prevent air bubbles.
-
Let it Cure – Allow 24 hours for the urethane to fully cure.
Step 4: Removing the Clay and Preparing for the Second Half
-
Detach the Base – Carefully separate the base from the mold box without disturbing the sides.
-
Remove the Clay – Clear out all the clay while keeping the part in place. The indentations made earlier should now appear as protrusions (keys) in the cured urethane.
Step 5: Creating the Second Half of the Mold
-
Apply Mold Release – Spray the mold release on the part and the exposed urethane mold.
-
Mix and Pour the Urethane – Prepare the second batch of urethane and pour it as done earlier.
-
Allow to Cure – Let it set for another 24 hours.
Step 6: Demolding and Assembling the Mold
-
Remove the Mold from the Box – The urethane mold should slide out easily. If not, gently pry the box open.
-
Separate the Mold Halves – Start at a corner and carefully pry the two mold halves apart.
-
Extract the Part – Once removed, your mold is now ready for use.
-
Secure the Mold for Casting – To keep the mold halves together during casting, use rubber bands. To avoid distortion, place plastic or wooden boards on the front and back of the mold before securing with rubber bands.
Now your two-part mold is ready to create multiple castings using the material of your choice!