How to Make a Urethane Mold
How to Make a Simple Urethane Mold
Urethane molding is an effective way to create simple block molds for casting resins, concrete, and plaster. Unlike latex molds, urethane molds do not require a rigid mother mold, making them quicker and easier to produce. Follow this step-by-step guide to create your own urethane mold successfully.
Step 1: Prepare the Base and Object
-
Choose a smooth, nonporous base such as acrylic to prevent adhesion issues.
-
Secure the object to the base using a hot glue gun to ensure it does not float when urethane is poured.
Step 2: Create a Mold Container
-
Select a container that fits your object’s shape. A simple paper cup works well for small parts.
-
Use hot glue to seal the container’s base, ensuring there are no gaps or pinholes where the liquid urethane could leak.
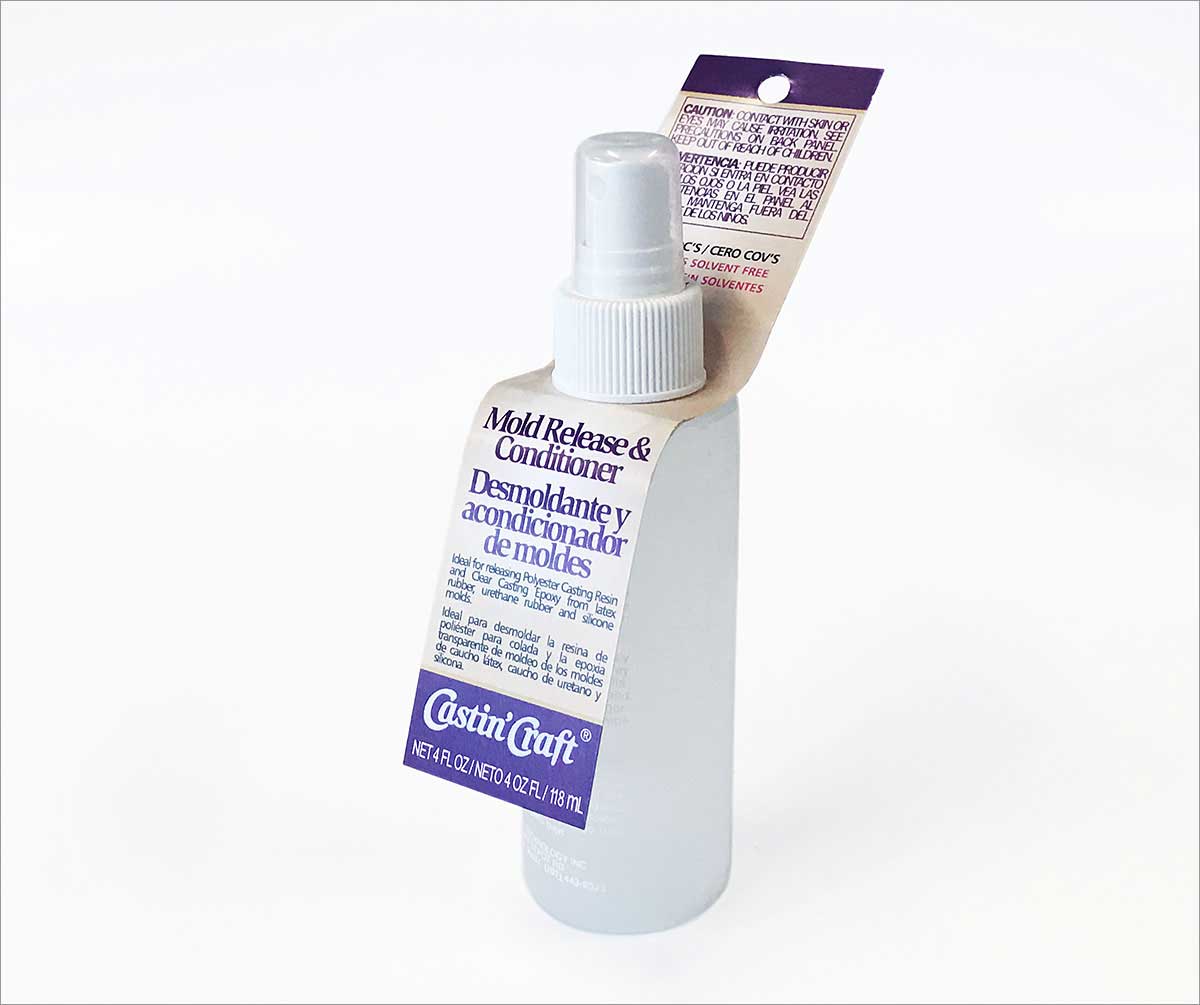
Step 3: Apply Mold Release
-
Urethane sticks to most surfaces, so a mold release agent is essential.
-
Use PA 2300 mold release and apply it lightly in a fogging motion. Avoid over-application, as excessive mold release can degrade the urethane’s quality.
Step 4: Determine the Mold Volume
-
To measure the amount of urethane needed, fill the container with rice to the desired level.
-
Transfer the rice to a measuring cup to determine the exact volume required.
-
Avoid using water, as it requires drying time and can cause contamination.
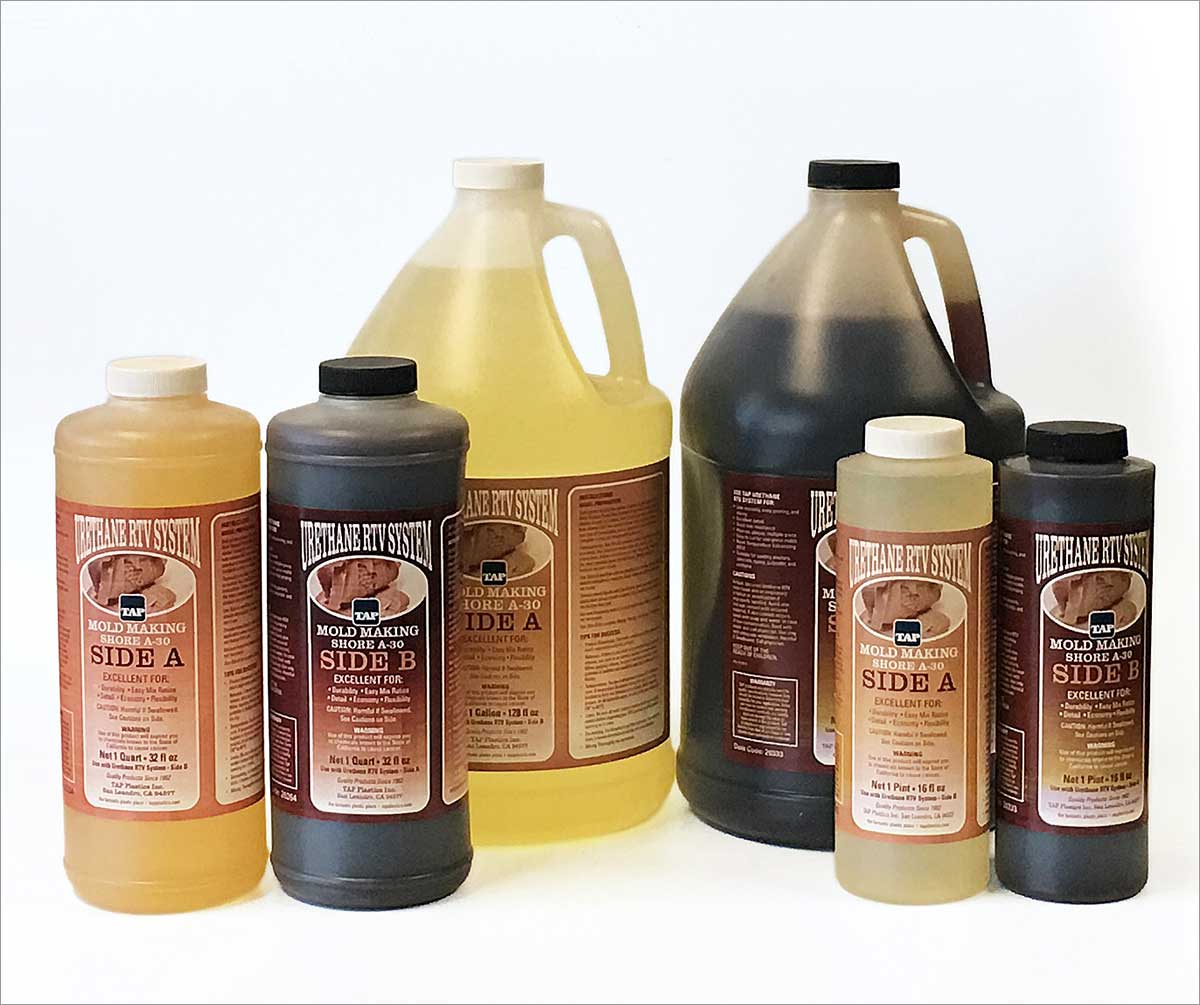
Step 5: Mix the Urethane RTV
-
Urethane RTV consists of Side A and Side B, which must be mixed in a 1:1 ratio by volume.
-
Side A is a thick, clear liquid. Take precautions:
-
Apply petroleum jelly to the can’s groove and lid to prevent it from permanently sealing.
-
Wipe excess material from the can’s groove after pouring to avoid hardened residue.
-
To extend shelf life, use Poly Purge dry gas before sealing the can.
-
-
Side B is a thin, brown liquid that must be stirred before use.
-
For accurate mixing, pour equal amounts of Side A and Side B into separate cups, then combine them in a third container.
-
Stir vigorously for two minutes, scraping the sides to ensure thorough mixing.
Step 6: Pour the Urethane
-
Pour the mixed urethane into one corner of the mold to allow it to flow naturally over the object, pushing out air bubbles.
-
Stirring creates some bubbles, but they will release during the 24-hour curing process.
-
The trouble-free bubble release makes urethane an easy-to-use molding material.
Step 7: Demold and Use
-
After 24 hours, the urethane mold is ready for use.
-
Urethane molds are durable and can cast all resins, concrete, and plaster.
-
Note: Mold release will remain on the cast parts, making them difficult to paint. If painting is required, consider using silicone RTV instead.
By following these steps, you can create high-quality urethane molds efficiently and effectively. Happy molding!