How to Polish and Shape Plastic Edges
Acrylic Edge Finishing Techniques
Acrylic plastic can be incredibly beautiful, especially when its edges are properly prepared. Several edge treatments can be achieved even in a home workshop. This guide will walk you through various methods, including:
-
Simple flame polishing
-
Polishing with a buffing wheel
-
Scraped edges for smoother handling
-
Beveled edges for aesthetic enhancement
Flame Polishing
When acrylic is cut with a table saw, the resulting edge is rough and unattractive. One way to achieve a polished finish is by using a MAPP gas torch, as propane does not reach a high enough temperature for effective polishing.
Steps:
-
Hold the torch approximately two inches from the edge of the acrylic.
-
Move it steadily along the edge.
-
Avoid moving too quickly, as this will result in incomplete polishing.
-
Avoid moving too slowly, as excessive heat may cause the acrylic to catch fire.
Flame polishing works well on acrylic (also known as plexiglass) but is not suitable for most other plastics, such as polycarbonate.
For thicker acrylic, saw-cut edges may remain visible even after flame polishing. To improve the finish:
-
Use a router for a cleaner edge before polishing.
-
If routing is not an option, use a random orbital sander with 320-grit sandpaper before polishing.
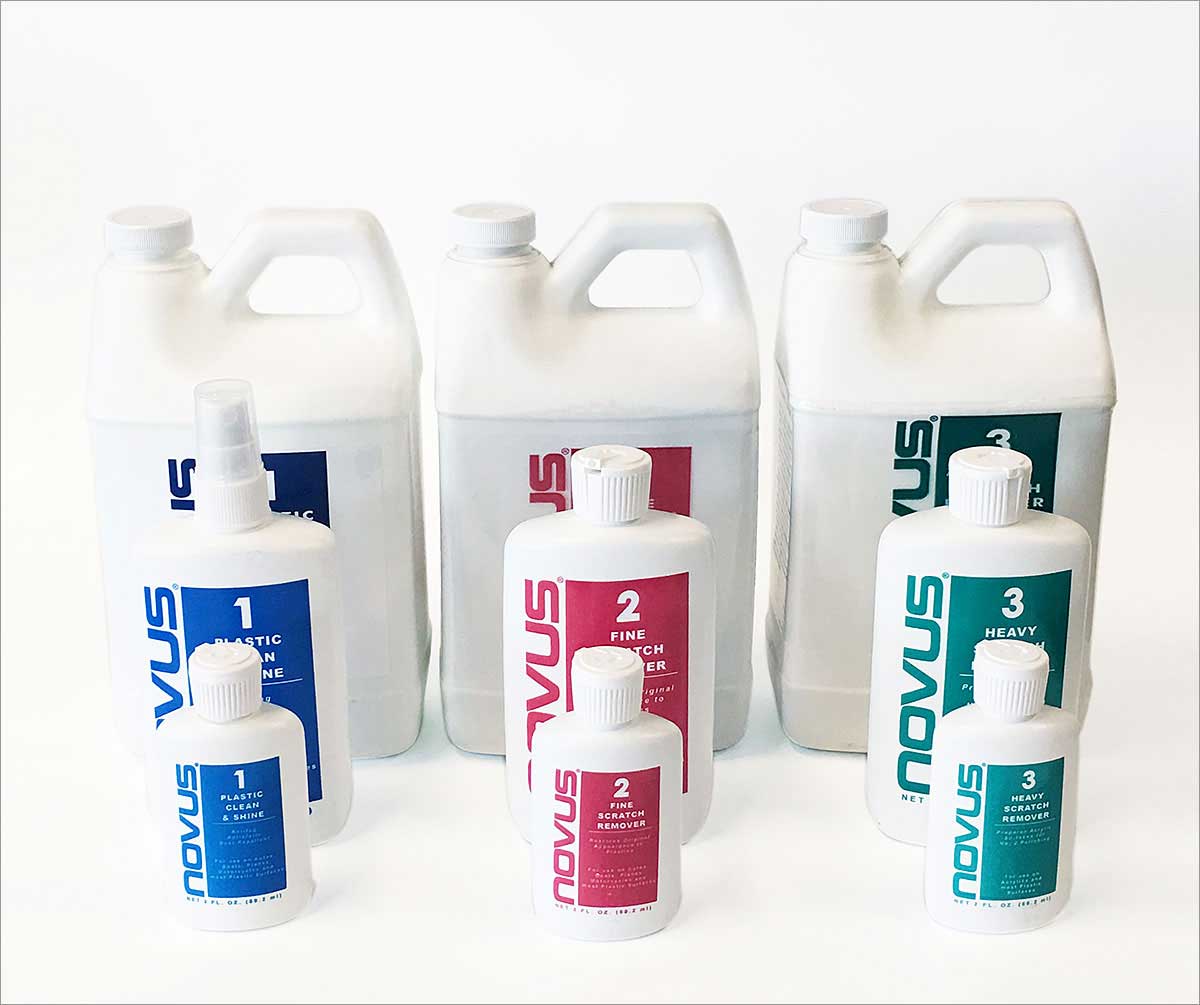
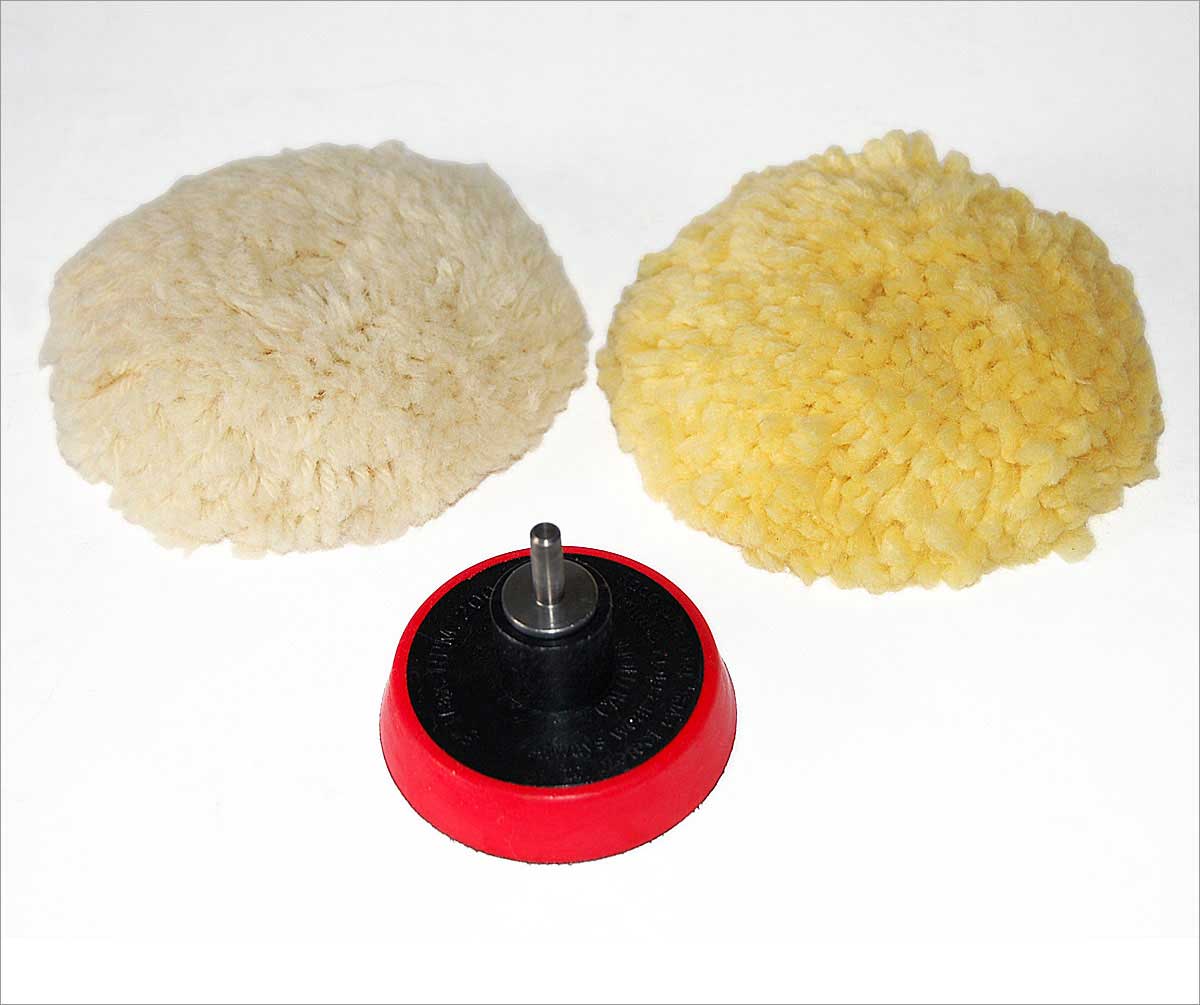
Buffing Wheel Polishing
For the highest-quality finish, particularly on thicker acrylic, use a buffing wheel. This can be:
-
A freestanding buffing system
-
A buffing wheel attachment for a drill
Important: Once an edge has been polished, it should never be glued. Acrylic cement reacts with polished edges, causing crazing (fine cracks) that ruin the plastic’s appearance.
Smoothing Sharp Edges
Acrylic edges can be sharp after cutting, making handling uncomfortable. If the piece will be frequently handled, such as a cutting board, it’s best to soften the edges.
Using a Scraper:
-
Use a handheld edge scraper designed for plastic.
-
Place it at an angle on the edge and drag it along to remove a small amount of material.
Beveled and Bull-Nosed Edges
If a square edge is not desired, a beveled or bull-nosed finish can enhance both the look and feel of the acrylic.
Using a Router:
-
Select the appropriate router bit (bevel or round-over bit).
-
Set the proper router height.
-
Feed the acrylic into the router against the direction of the spinning bit.
-
Once routed, use flame polishing for a smooth, professional finish.
Final Thoughts
Whether done by TAP Plastics’ professional fabricators or as a DIY project, these techniques ensure stunning results when working with acrylic. Proper edge finishing can significantly enhance both the appearance and usability of acrylic projects.