Fiberglass Repair Guide
Fiberglass Repair Guide
This guide provides a step-by-step demonstration of a simple fiberglass repair. The methods outlined here apply to various fiberglass products, including jet skis, shower stalls, car and truck bodies, boats, canoes, and kayaks. While this is just one repair method, TAP Plastics offers instructional books with more extensive guidance.
Understanding Fiberglass Damage
Although fiberglass is a tough material, it can still sustain damage. Minor damage can often be repaired by a DIY enthusiast, saving significant repair costs. This guide assumes that the damaged area is accessible from the backside and that the repair is being performed on a solid, non-cored fiberglass piece. If your repair area contains core material, the procedure will differ.
Step 1: Remove the Damaged Area
Using a cutting tool, remove only the damaged portion of the fiberglass. It is important to eliminate all compromised material while preserving as much of the original structure as possible.
Step 2: Prepare the Surface
To ensure a strong bond, grind a tapered area outward from the hole. A good rule of thumb is to create a taper that extends 12 times the thickness of the fiberglass. For example, if the fiberglass is 1/4 inch thick, grind a 3-inch taper around the damaged area. Be sure to wear eye and breathing protection while grinding.
Once grinding is complete, wipe the area thoroughly with a clean rag and acetone.
Step 3: Create a Temporary Mold for the Gel Coat
Since the fiberglass surface often has a gel coat, it must be replaced to maintain a seamless appearance. Create a mold using a 5-mil Mylar sheet backed by Styrofoam to keep it flat. Polyester resin does not adhere to Mylar, but you may also use polyethylene or polypropylene, ensuring they are well-waxed for a proper release. Tape the Mylar tightly to the gel-coated surface, securing it with Styrofoam backing.
Step 4: Apply the Gel Coat
-
Mix white gel coat with 20 drops of catalyst per ounce of resin.
-
Apply the gel coat to the temporary mold until it reaches a thickness of 18 to 20 mils (approximately 1/32 inch). You can use a mill gauge or a toothpick to estimate thickness.
-
Allow the gel coat to cure for about one hour, depending on ambient temperature.
Step 5: Prepare Fiberglass Fabric Layers
While the gel coat is curing, cut out fiberglass fabric layers:
-
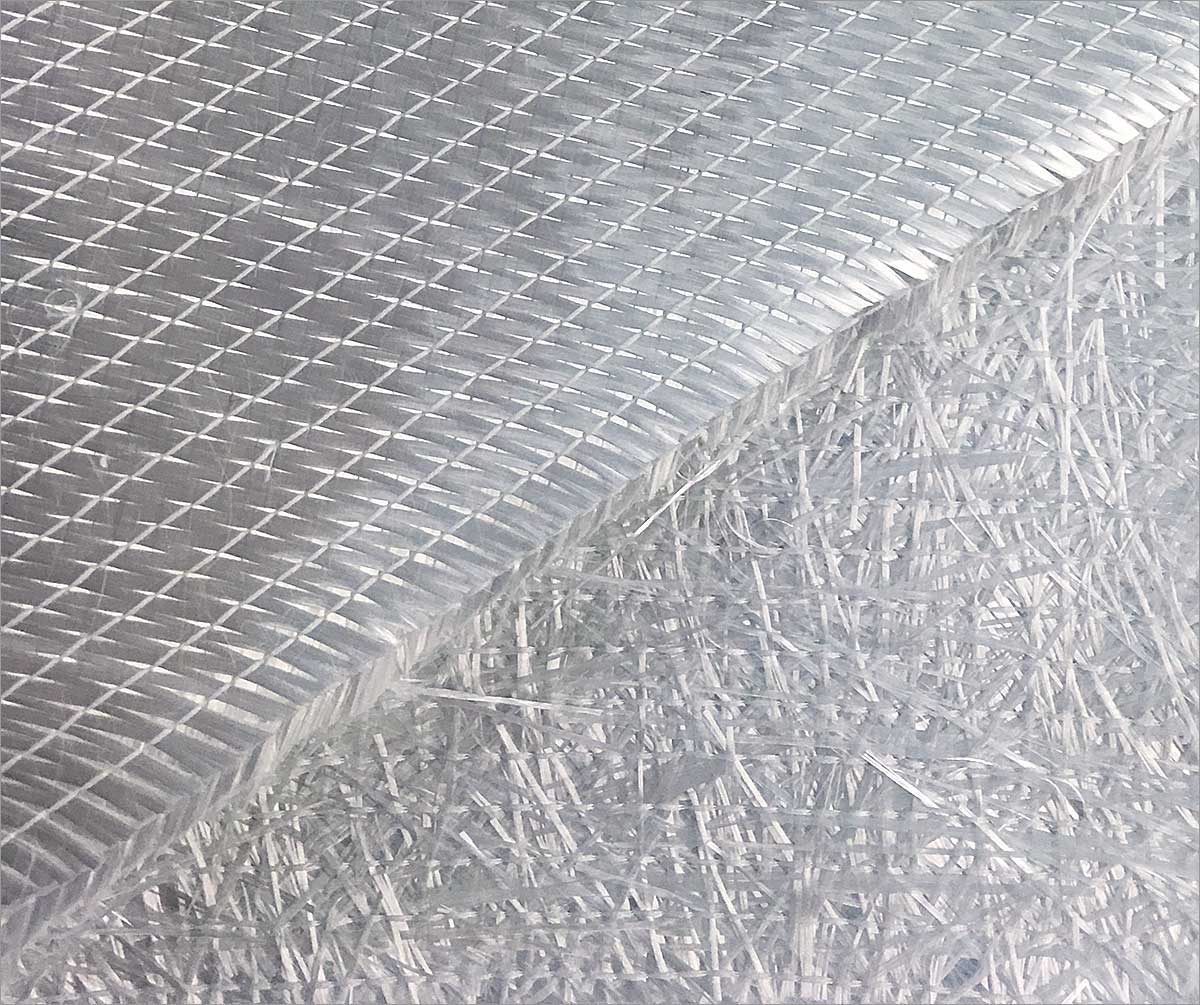
First two layers: 1.5 oz mat, with the first piece slightly larger than the hole and the second about an inch larger.
-
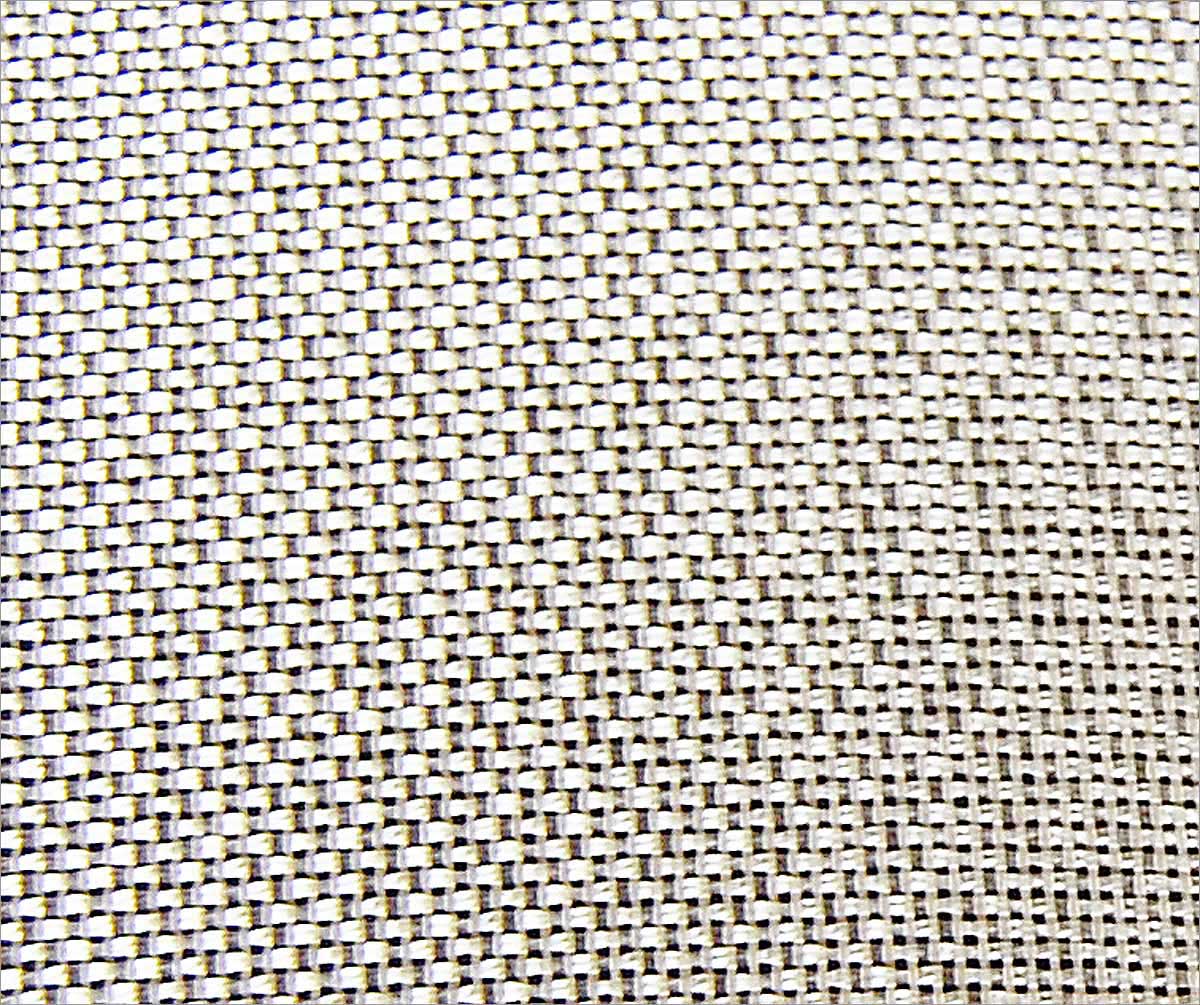
Third layer: 9 oz cloth, one inch larger than the previous layer.
-
Continue alternating layers of mat and cloth until the new material equals the thickness of the original fiberglass.
-
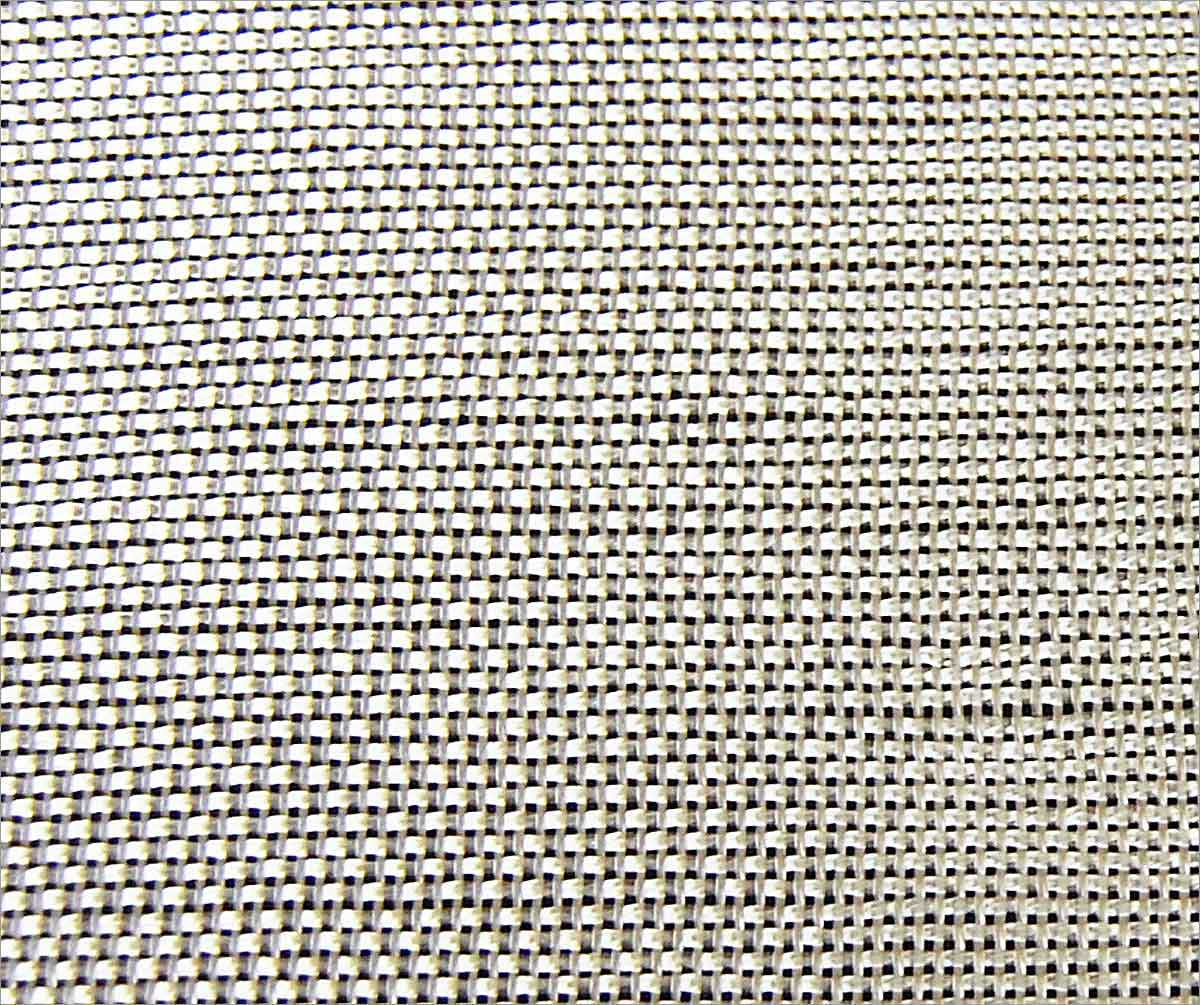
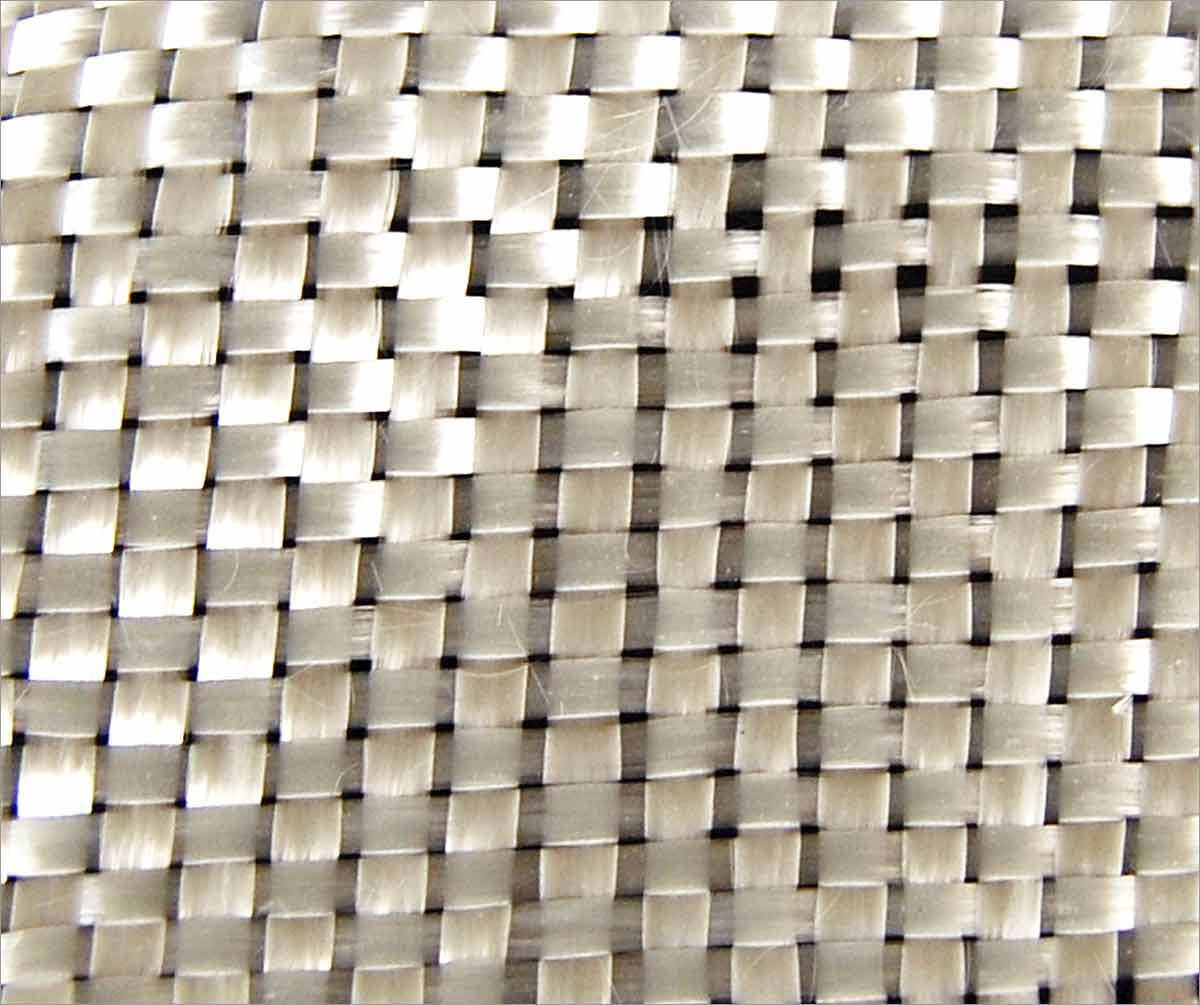
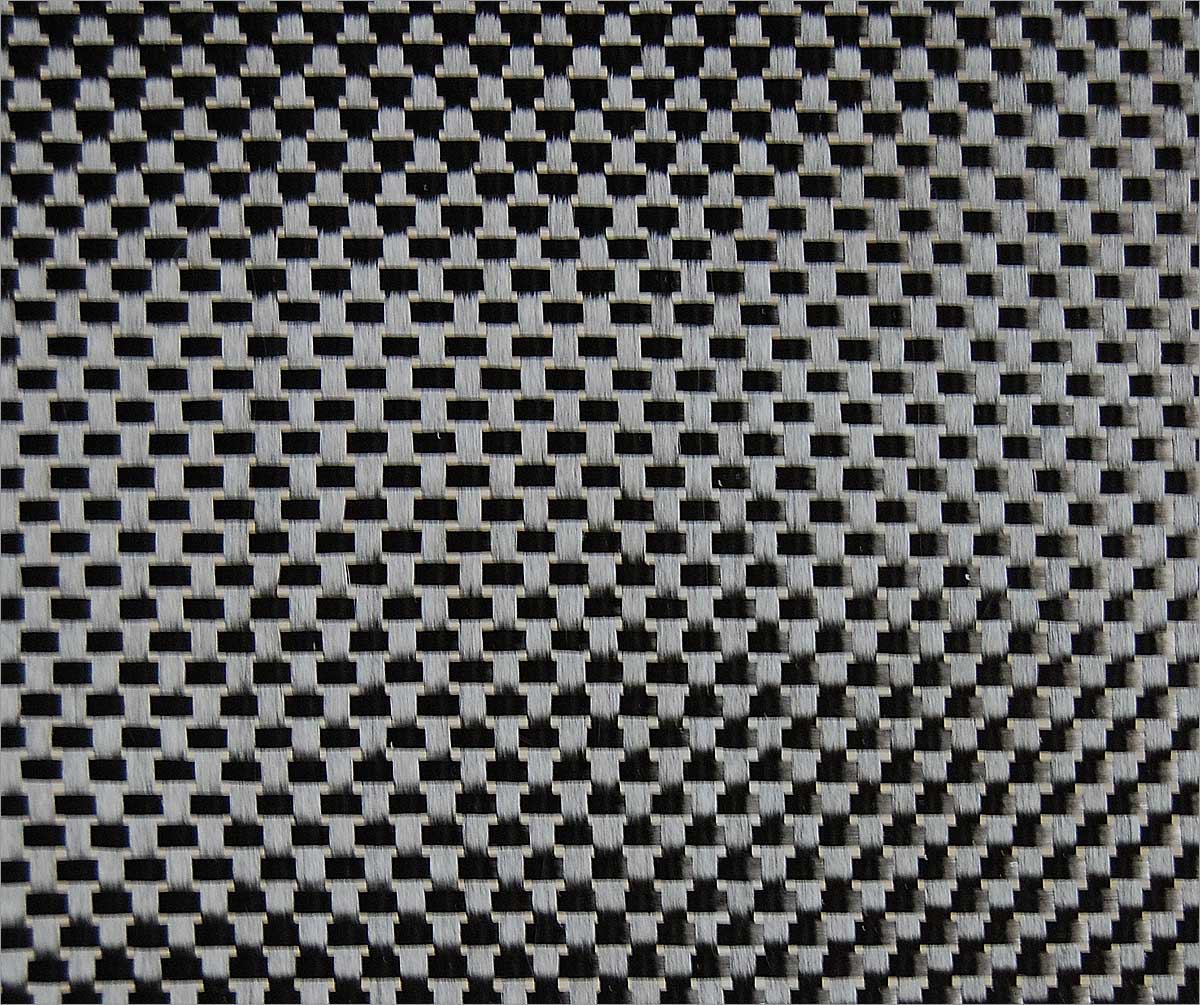
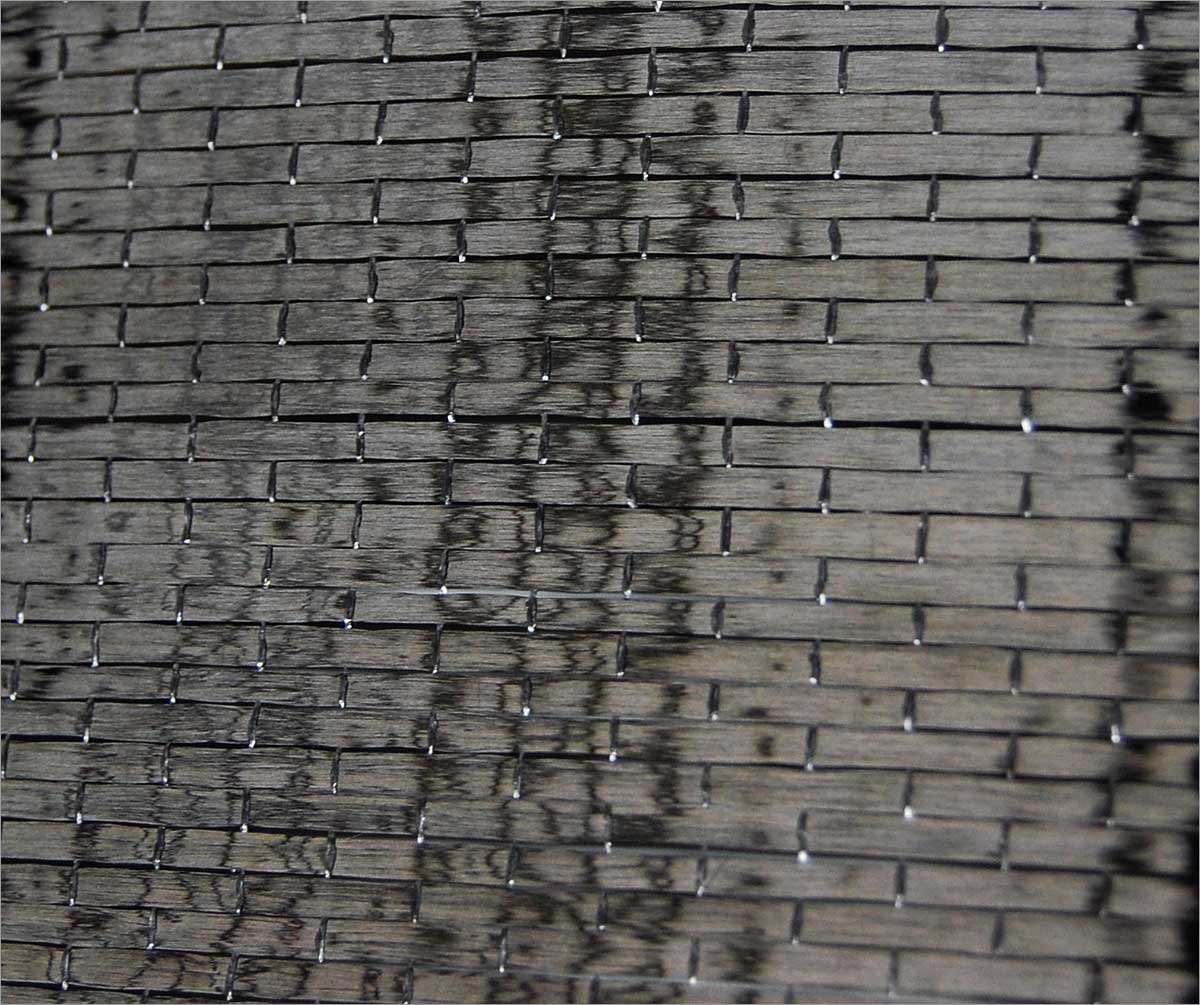
Final layer: A piece of woven roving, slightly larger than the repair area, to match the surrounding surface.
Step 6: Apply Fiberglass and Resin
-
Use TAP High-Strength ISO Resin for its superior adhesion, low viscosity, and no need for sanding between coats.
-
Mix the resin and MEKP catalyst according to the container’s instructions.
-
Brush resin onto the surface and apply the first layer of mat, ensuring it is closest to the gel coat. Avoid using cloth or roving as the first layer, as their texture may show through the gel coat.
-
Continue applying layers in the predetermined order, fully wetting each layer with resin.
-
Allow the repair to cure completely.
Step 7: Finish the Repair
-
Once fully cured, remove the Mylar sheet.
-
Follow instructions from the TAP Plastics gel coat repair guide to sand and buff the surface until the repair is seamlessly blended.
-
Wait at least seven days before exposing the repair to water, allowing the resin to fully cure.
By following these steps, you can achieve a professional-quality fiberglass repair and enjoy the satisfaction of a successful DIY project.