How to Waterproof with Coat-It
How to Create a Tough, Waterproof Coating with Coat-It
Creating a durable, waterproof coating requires the right materials. Whether you're protecting the bottom of a boat, an animal trough, or a cinder block wall, selecting the proper coating can make all the difference. One excellent product for this purpose is Coat-It, a tough epoxy containing carbon for abrasion resistance and Kevlar for added toughness. Below, we’ll walk you through the steps to properly apply Coat-It for maximum durability and effectiveness.
Step 1: Surface Preparation
Before applying Coat-It, the surface must be properly prepared for optimal adhesion:
-
Metal Surfaces (Steel, Aluminum, etc.)
-
Sand the surface or clean it using a Scotch-Brite pad.
-
Treat with marine phosphoric acid (e.g., Naval Jelly or Aluminum Brite) to remove oxidation.
-
Follow the manufacturer’s instructions for these products carefully.
-
-
Wood Surfaces
-
Sand the surface and remove any loose paint or contaminants.
-
Remove all wood dust before application.
-
-
Concrete, Cinder Block, or Brick
-
Ensure the surface is free from grease, oil, and loose paint, which can prevent proper bonding.
-
Clean the surface thoroughly before applying Coat-It.
-
Step 2: Repairing Surface Imperfections
-
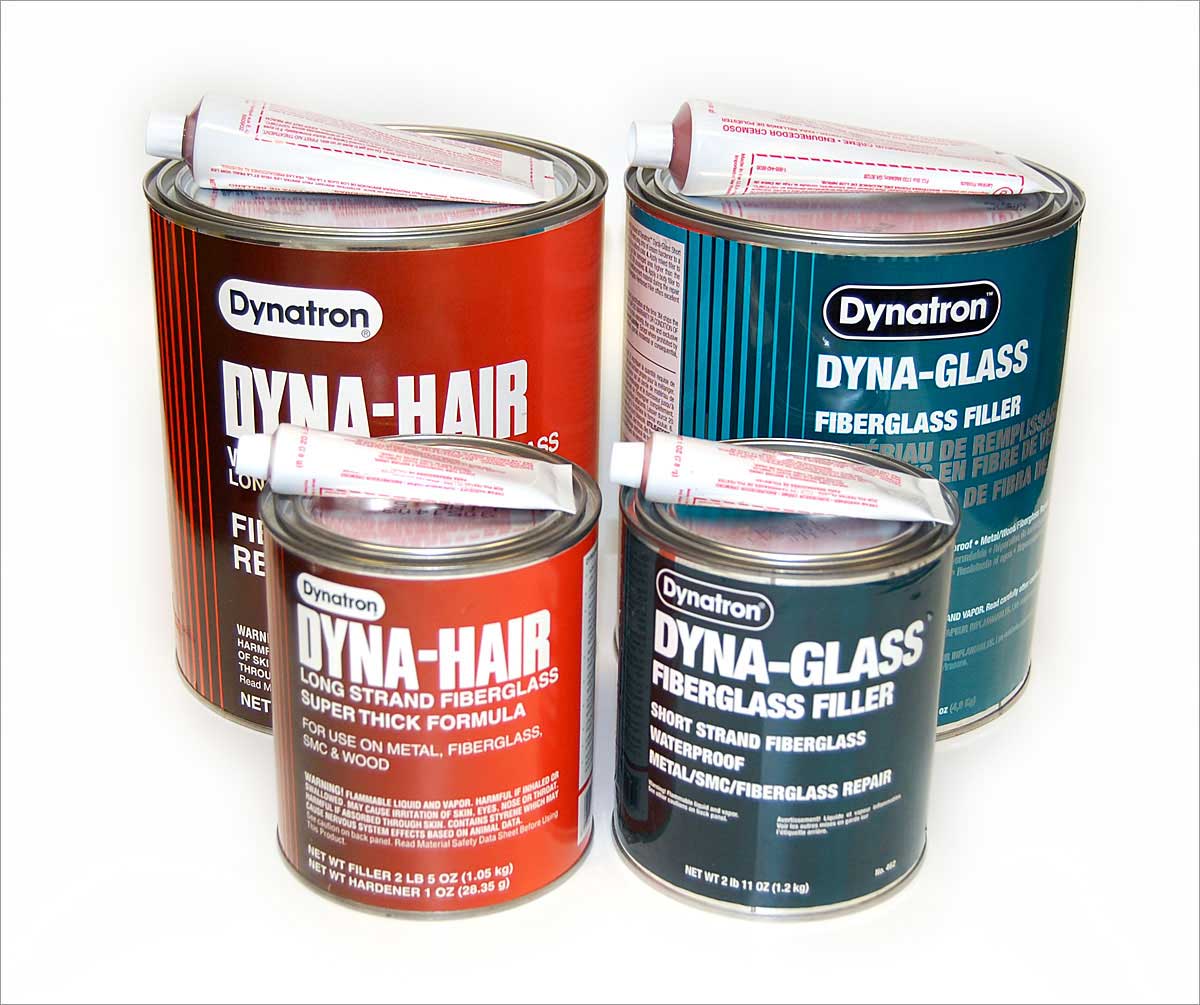
If the surface has gouges or holes, use Goop Marine Epoxy Paste for repairs.
-
This two-part epoxy should be mixed in the provided cup.
-
Since it is also an epoxy, it does not need to be fully cured before applying Coat-It—the two products will bond together seamlessly.
Step 3: Mixing Coat-It
Coat-It consists of two components: a resin and a hardener. Proper mixing is crucial to ensure effectiveness:
-
The larger container holds the resin, leaving enough space to add the hardener for direct mixing.
-
If mixing smaller quantities, use a 7:1 ratio (seven parts resin to one part hardener by weight).
-
A postage scale can help measure accurate amounts.
-
Once combined, mix thoroughly for 2-3 minutes, ensuring you scrape the sides and bottom of the container.
Step 4: Applying Coat-It
-
Coat-It is highly viscous, making brushing difficult. Use the following methods for better application:
-
Disposable brush with shortened bristles
-
Squeegee (often the best option)
-
-
Coat-It thickens before it fully hardens, allowing you to use any remaining material in the container for areas needing extra coverage.
Step 5: Curing and Additional Coats
-
At 70°F, Coat-It cures in 10-12 hours.
-
Lower temperatures increase cure time, while higher temperatures speed it up.
-
A second coat can be applied after the first coat gels.
-
Uncured Coat-It can be cleaned from tools using acetone or lacquer thinner.
Step 6: Dealing with Cold or Humid Conditions
-
Cold and humid conditions can cause an oily residue to form on the surface.
-
This can be easily washed off with soap and a scrub pad once cured.
Final Results: Waterproof Protection
Once fully cured, Coat-It forms a tough, waterproof barrier. A simple demonstration shows that a cardboard box coated with Coat-It remains dry even after 24 hours submerged in water.
Because of its waterproof characteristics, Coat-It can be used both above and below the waterline. It is available in:
-
2 lb kits (covers ~20 sq. ft.)
-
8 lb kits (covers ~80 sq. ft.)
For a durable, all-purpose waterproof epoxy sealer, Coat-It is available at TAP Plastics.