How To Repair Wood with Fiberglass
Quick and Invisible Wood Repair: A Step-by-Step Guide
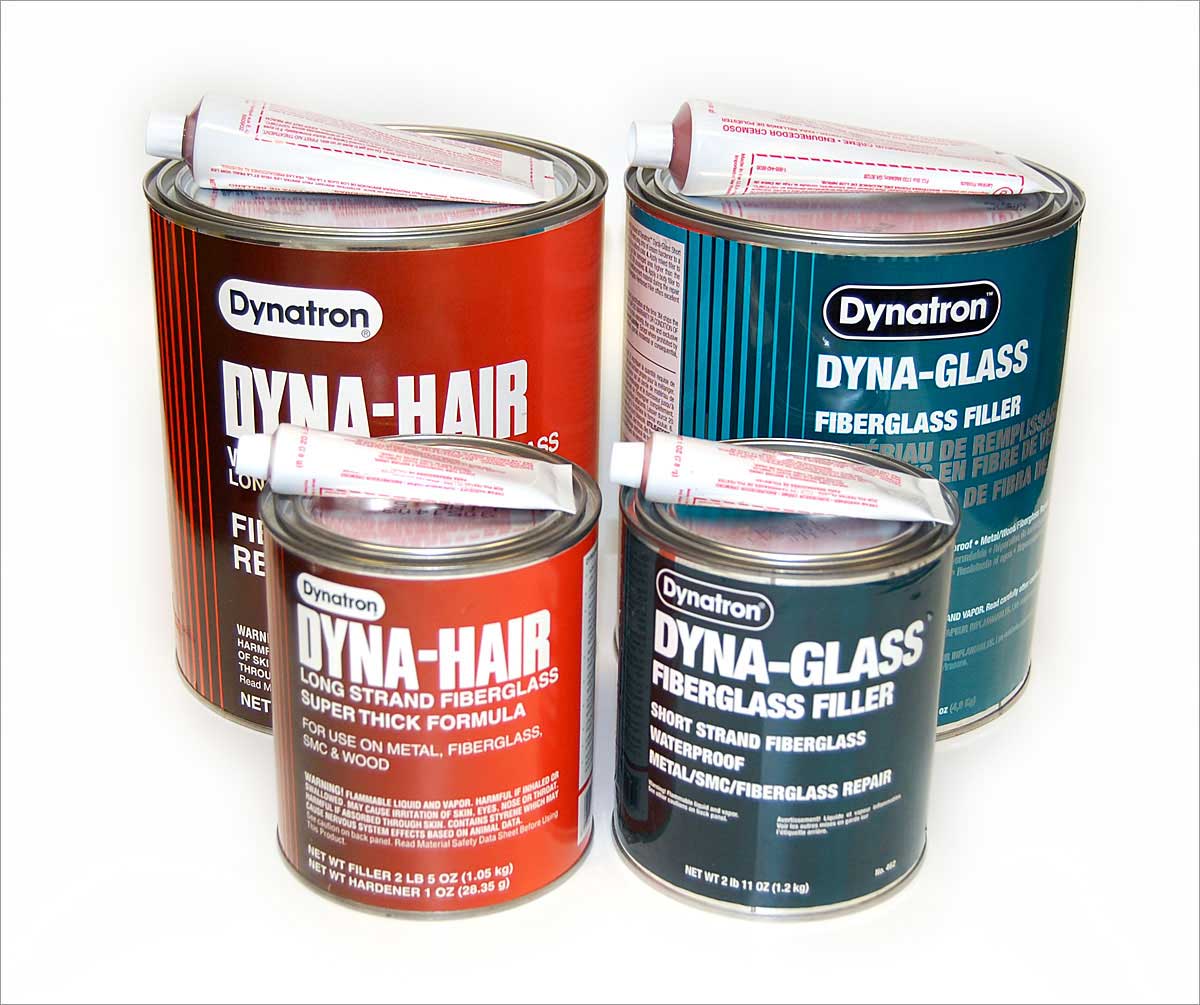
Wood repairs, whether indoors or outdoors, can be quick, seamless, and durable using the right materials and techniques. This guide will walk you through the process of making invisible wood repairs in just under an hour, using two specialized products: Dynatron® Dyna-Hair for smooth applications and Dyna-Glass for rough-textured areas.
Why Choose This Method?
While epoxy-based repairs take longer to cure, this method provides a fast-drying alternative that allows for painting within an hour. It's perfect for repairing damage caused by dry rot, impact, or voids from electrical installations.
Smooth Surface Repairs with Dynatron Dyna-Hair
This technique works well on door trim, molding, furniture, and siding.
Step 1: Prepare the Damaged Area
-
Remove any loose or rotted wood.
-
Ensure the surrounding wood is structurally sound.
-
Sand the area lightly to remove any glossy finish or high spots.
Step 2: Create a Backing Support (For Hollow Areas)
If the siding or trim is hollow behind the damage:
-
Cut a wood backing piece that fits the hole.
-
Drill countersunk pilot holes into the siding.
-
Secure the backing piece inside using a center screw for stability.
Step 3: Mixing and Applying Dynatron Dyna-Hair
-
Wear gloves and work in a well-ventilated area.
-
Thoroughly mix the contents of the can before scooping.
-
Use a smooth, non-porous surface (e.g., acrylic sheet) for mixing.
-
Knead the hardener tube and mix a pea-sized amount of hardener with a golf ball-sized portion of filler.
-
Blend until streak-free and use within 3-4 minutes.
-
Apply in thin layers rather than filling large voids all at once.
-
Wait 10-15 minutes before applying the next layer.
Step 4: Sanding and Finishing
-
Overfill slightly to allow sanding down to a flush surface.
-
If overfilled, use a grater within 10 minutes before full hardening.
-
After 20-25 minutes, sand with 80-grit sandpaper to smooth the area.
-
For a finer finish, follow up with finer grit sandpaper.
-
After 45 minutes, the surface is ready for priming and painting.
Pro Tip: To clean plastic putty knives, allow excess filler to dry on the blade—once hardened, it will peel right off.
Repairing Rough-Textured Surfaces with Dyna-Glass
For surfaces where sanding would be noticeable, such as woodpecker or rodent damage, use Din Glass.
Step 1: Preparation
-
Just like with smooth repairs, ensure that surrounding wood is sound and clean.
-
Remove debris and rough edges.
Step 2: Mixing and Application
-
Mix Dyna Glass the same way as Dyna Hair, combining the hardener with resin.
-
Apply the mixture to the damaged area.
Step 3: Texturing and Finishing
-
Use a brush to match the surrounding texture before it fully cures.
-
Avoid sanding, as Din Glass contains fiber strands that make sanding difficult.
-
After 45 minutes, prime and paint for a seamless finish.
Ideal Applications for These Repair Methods
Both products are versatile and can be used for:
-
Wood siding, trim, and molding
-
Furniture repairs
-
Boat and jet ski maintenance
-
Metal and fiberglass restoration
-
General home improvement projects
For fast, durable, and invisible wood repairs, Dyna-Hair and Dyna-Glass are your go-to solutions. Find them online at TAPPlastics.com or visit one of our store locations today!